Certified Business
With over 10,000 orders
With over 10,000 orders

Photo by Wes Hicks on Unsplash
If you think there's some secret, one-size-fits-all trick to preventing hiking blisters, I've got some news for you. There isn't one. Instead, it’s about a smart, simple system focused on managing friction, controlling moisture, and choosing the right gear.
Once you get this system down, you’ll be creating an environment inside your boot where blisters simply can't form. That’s the key to making every step on the trail a comfortable one.
Blisters are that painful, frustrating result of a perfect storm brewing in your boots. They pop up when three main culprits work together against you: friction, moisture, and heat.
The biggest mistake I see hikers make is treating blisters after they've already formed. The real secret is to shift your mindset to proactive prevention. Stop them before they even think about starting. This all comes down to building a system that tackles the root causes head-on.
Let's break down this system into what I call the three pillars of blister prevention. By paying attention to all three, you'll build a seriously tough defense that keeps your feet happy, mile after mile.
The most bulletproof strategy is one that covers all the bases. You can't just buy expensive boots and call it a day, or wear amazing socks but let your feet get soaked. Every single piece of the puzzle really does matter.
To keep it simple, I've organized everything into a quick summary table. Think of these as the fundamental principles of happy feet on the trail.
| Pillar | Key Focus | Action Items |
|---|---|---|
| Proper Gear Selection | Reducing friction and providing the right fit. | Choosing the right boots, socks, and insoles for your foot shape. |
| Active Moisture Management | Keeping feet as dry as possible to reduce skin shear. | Selecting breathable materials, airing out feet, and using foot powder. |
| Proactive Foot Care | Preparing feet before a hike and addressing issues on the trail. | Trimming nails properly, taping hot spots, and pre-hike skin prep. |
This table gives you the 30,000-foot view. Now, we’re going to dive deep into each one.
The goal here is simple: make the inside of your boots a terrible place for blisters to grow. By tackling friction, moisture, and heat with a plan, you put yourself back in control of your comfort.
This guide will walk you through each of these pillars with real-world advice and actionable steps you can use on your very next hike. We'll cover how to pick the best gear, master the art of dry feet, and perform the essential foot care that separates seasoned hikers from those limping back to the trailhead.
Once you adopt this system, you can finally leave blister anxiety behind and focus on what really matters—enjoying your time in the great outdoors.
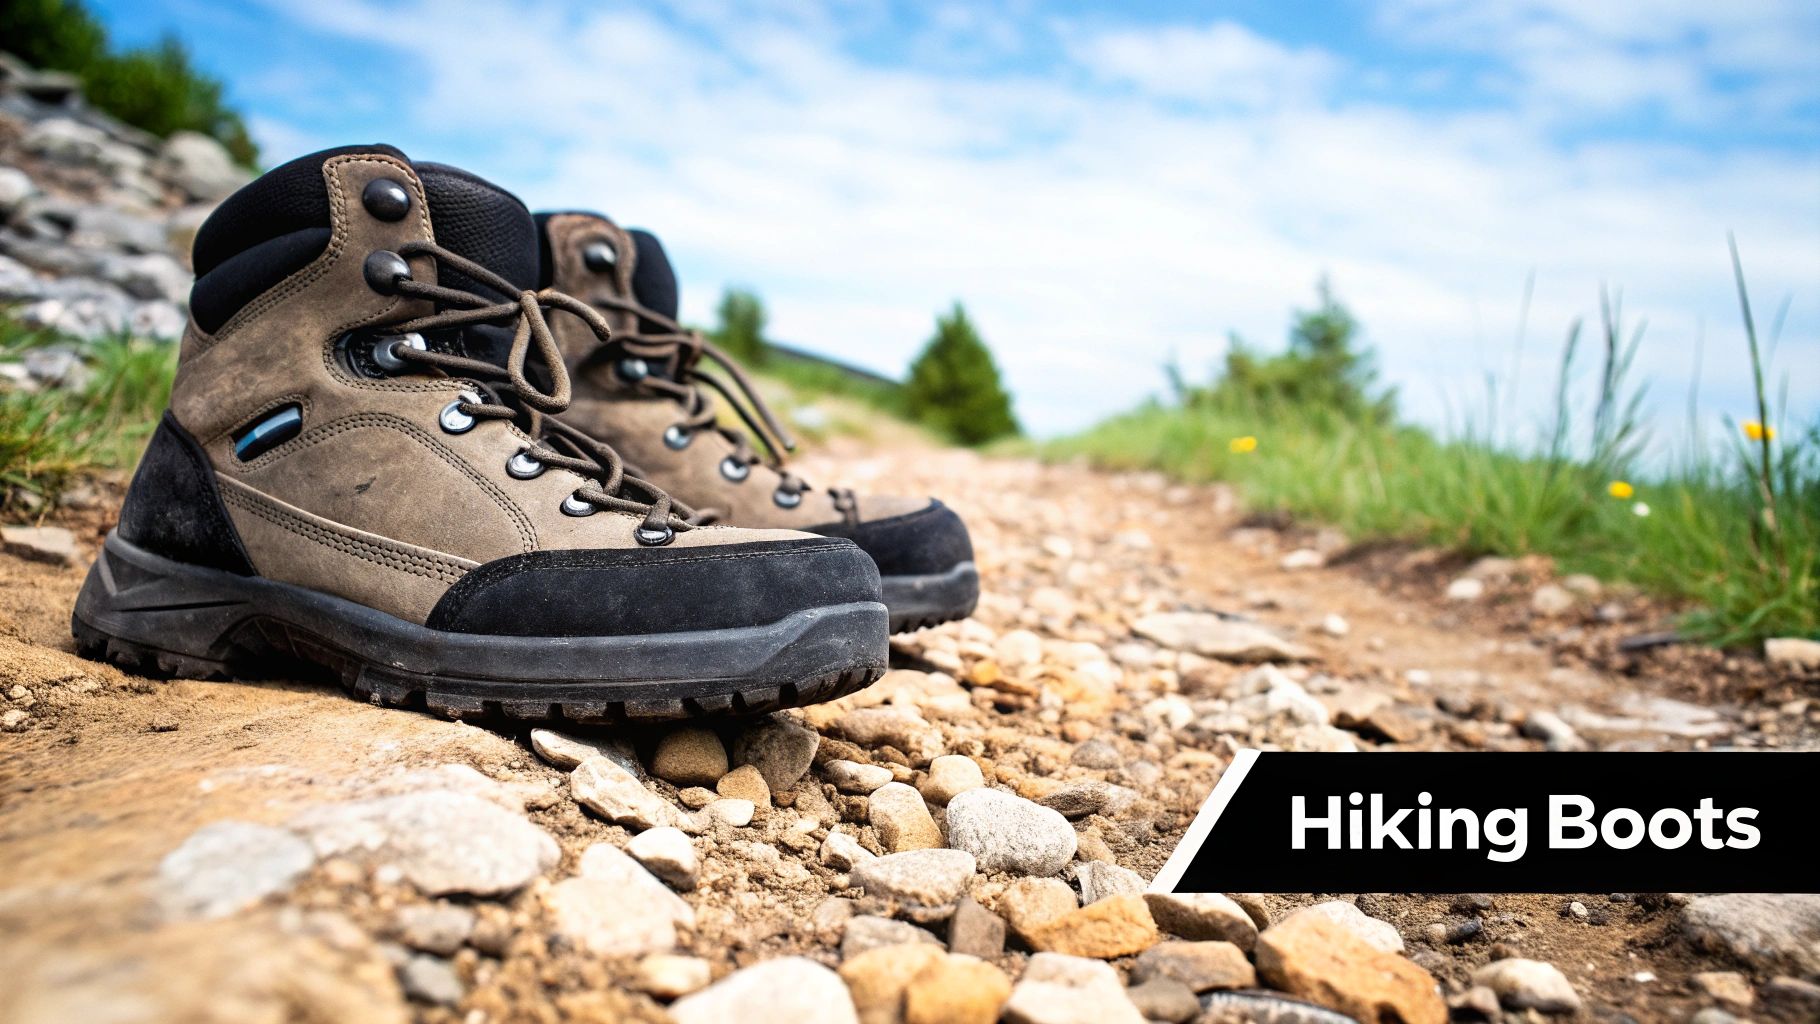
Think of your boots and socks as your first and best line of defense against the friction that ruins a perfectly good hike. They aren't just pieces of gear; they’re your personal shield. When you nail this combination, you stop hoping for a blister-free trek and start actively building one.
It all begins with truly understanding what a "good fit" feels like on the trail, which is often very different from how it feels in the store. A classic rookie mistake is buying boots that feel perfectly snug. Your feet swell on long hikes, sometimes by as much as half a size. That snug fit can quickly turn into a pressure cooker for your feet.
When you're trying on new boots, go in the afternoon when your feet are at their largest. And always, always wear the exact socks you'll be hiking in. You need enough space to wiggle your toes, but your heel and midfoot must be locked down. Any heel lift is a huge red flag—it's practically a guarantee you'll get blisters later.
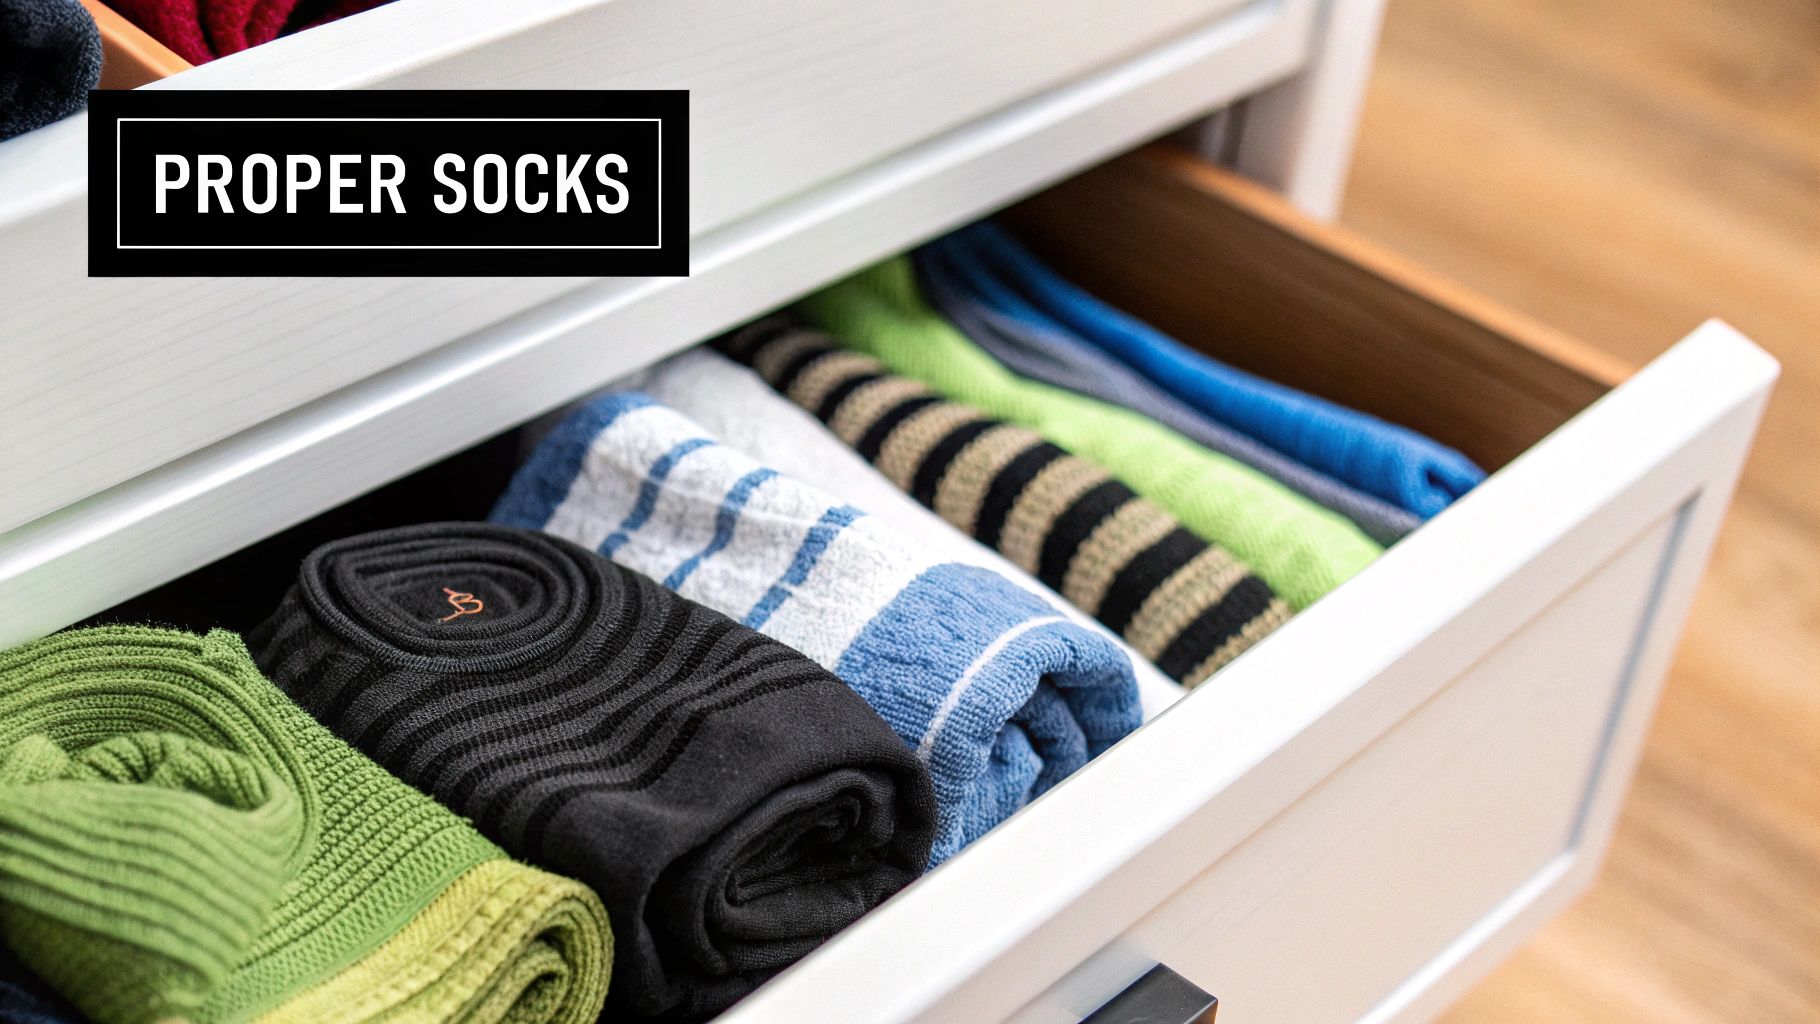
Honestly, your socks are just as critical as your boots. The number one rule? Ditch the cotton. Cotton is like a sponge; it soaks up sweat, which softens your skin and sends friction through the roof. The real debate is between Merino wool and high-quality synthetics—this choice is a cornerstone of effective blister prevention.
Even with the perfect boots and socks, there's more you can do to bulletproof your feet. Have you tried a two-sock system? It’s a game-changer. You wear a thin, snug liner sock that wicks moisture directly off your foot, covered by a thicker outer sock for cushioning. The magic is that friction now happens between the two layers of fabric, not between the sock and your skin.
Pro Tip: Your boots are just one part of the equation. As you're dialing in your gear, remember that learning how to choose the right insoles for your feet is just as important. Aftermarket insoles can perfect the fit and add support that the factory originals just can't match.
Finally, never forget the break-in period. Even the world's best boots need time to mold to your feet. Taking a brand-new pair on a multi-day trek is asking for trouble. We've put together a full guide on how to break in hiking boots to walk you through this crucial step. It ensures your boots work with you, not against you.
Moisture is friction’s best friend and the number one enemy of happy feet on the trail. Think about what happens when your skin gets damp—it softens up, becoming more fragile and far more likely to tear or shear under the constant pressure of hiking. That’s why keeping your feet dry isn’t something you just do before you leave the car; it’s an active, ongoing job out on the trail.
It doesn’t matter if the moisture is coming from sweat inside your boots or from a sudden downpour or stream crossing. The end result is the same: weakened skin and increased friction, which is the perfect recipe for a painful blister. Honestly, a huge part of learning how to prevent blisters hiking is simply mastering moisture control.
The best defense is a good offense. You need to tackle moisture before it ever becomes a problem, and that starts before you even lace up your boots. Here’s a simple but incredibly effective trick I swear by: apply a basic antiperspirant to the soles of your feet for a few nights before a big hike. This can significantly reduce how much your feet sweat in the first place.
Once you’re on the trail, what you do during breaks is just as critical. Make it a hard-and-fast rule to take your boots and socks off every time you stop for a significant rest. Let your feet breathe! Then, swap out your damp socks for a fresh, dry pair from your pack. You can just hang the wet ones on the outside of your backpack to dry while you walk. This simple routine completely resets the climate inside your boots and gives your skin a fighting chance.
Don’t just take my word for it. Research has proven how critical moisture is. One study of long-distance hikers found a direct connection between skin hydration and blisters. Hikers who developed blisters had an average foot skin hydration of 61.6%, while those who stayed blister-free averaged only 38.4%.
The gear you choose plays a massive part in this whole equation. Take waterproof boots, for instance. They can be a bit of a double-edged sword. While they're fantastic at keeping rain and puddle water out, their waterproof membranes are naturally less breathable. This can trap sweat inside, creating a humid, swampy environment for your feet—especially on a warm, strenuous day.
You have to think strategically about your footwear based on the conditions:
And remember, managing moisture on your feet is directly tied to how well you hydrate your body. While you're focused on keeping your feet dry, don't forget to drink enough water. A well-hydrated body just performs better. For more on that, check out our complete guide on how to prevent dehydration while hiking.
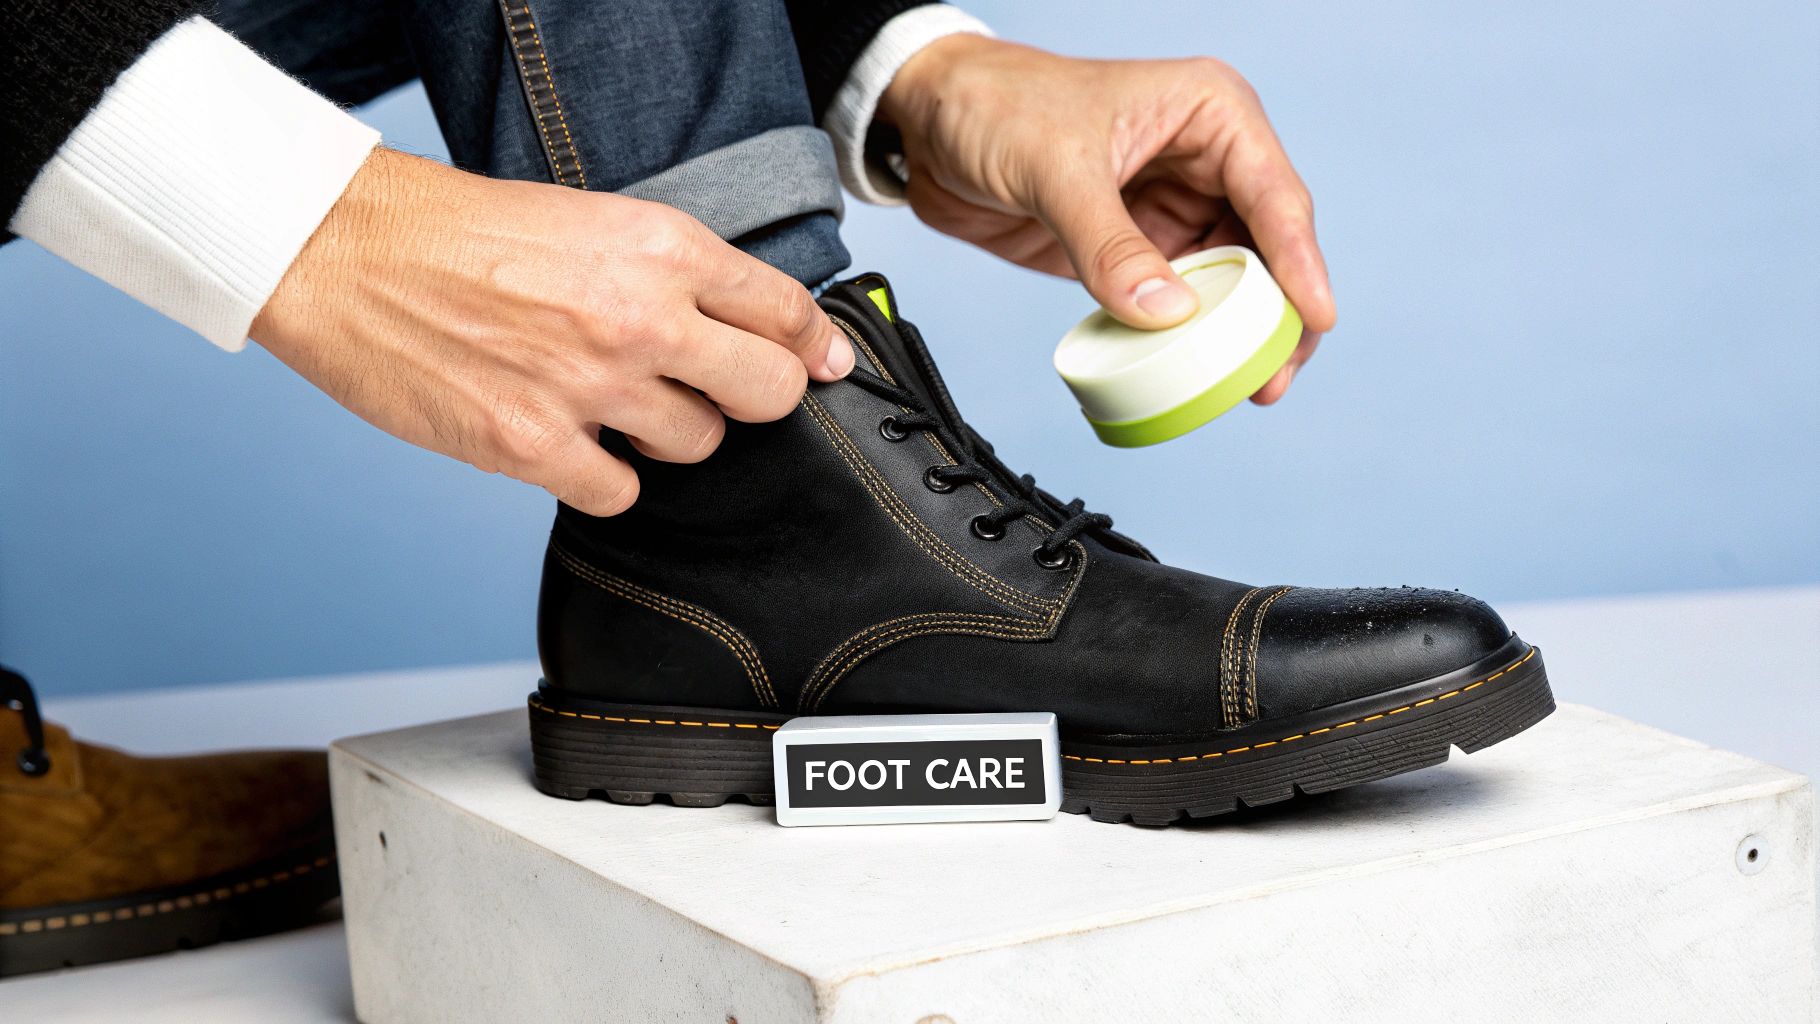
You can have the best gear in the world, but if your feet aren’t ready for the trail, it won’t make a difference. The real secret to a great hike versus a painful one comes down to two things: proactive foot care before you leave and knowing exactly how to react to irritation the second it starts. This is a hands-on routine that begins at home and carries through with every step you take.
Smart pre-hike care is all about building a resilient foundation for your feet. Let's start with your toenails. You'll want to trim them straight across and then file the edges smooth. If your nails are too long, they'll constantly bang into the front of your boots on every downhill, which can lead to nasty bruising and blisters under the nail. Sharp corners are just as bad, as they can dig into the neighboring toes.
Next up, let's talk calluses. A lot of hikers have the wrong idea and think they should remove them completely. Don't do it! Those tough patches of skin are your body's natural armor against pressure and friction. Instead of scraping them off, just gently smooth them with a pumice stone. This keeps hard, thick edges from snagging on your socks, which is a major cause of friction. Removing them entirely just exposes the soft, vulnerable skin underneath.
This simple routine is your first line of defense against friction.
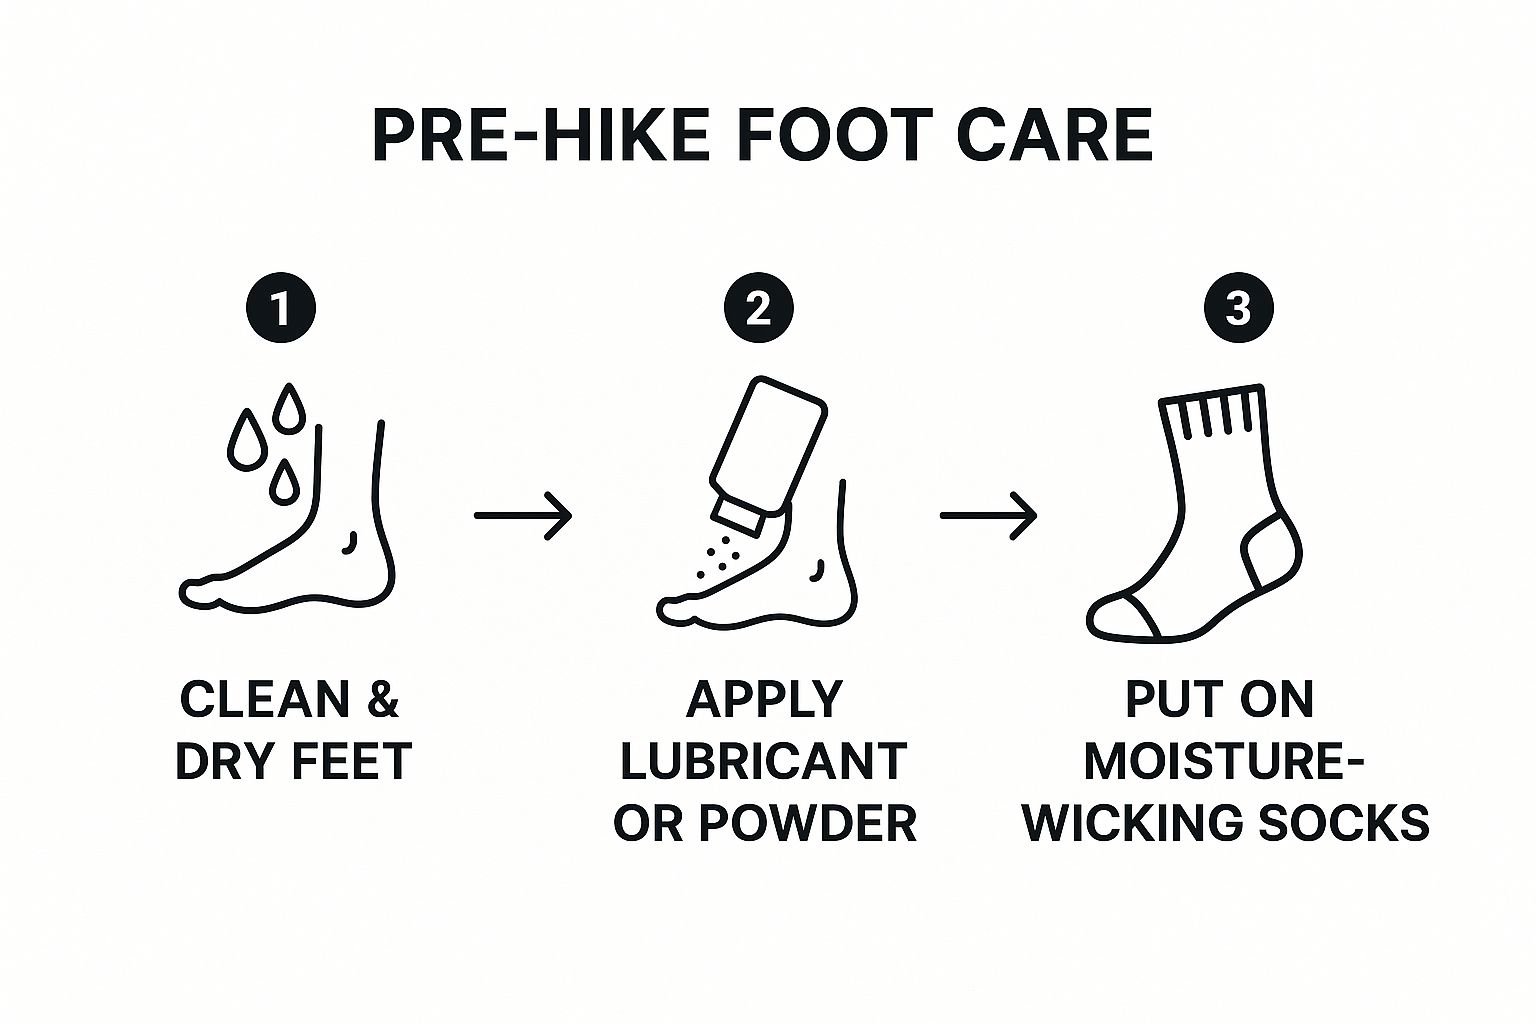
As you can see, the final step before even putting on your socks is to create a low-friction surface. This can be done with a specialized lubricant or by using powder to keep things dry.
Once you hit the trail, your most important job is to listen to your feet. A hot spot—that slight stinging or warm sensation—is your foot screaming that trouble is on the way. It’s the critical warning sign before a blister forms, and ignoring it is the biggest mistake you can possibly make.
The moment you feel one, you have to stop. Don't try to push through to the next rest stop; by then, the damage will likely be done.
"A hot spot is your foot’s final warning before a blister erupts. Taking five minutes to address it now will save you from days of pain. It’s the single most important on-trail habit for preventing blisters while hiking."
Find a safe spot to sit, pull off your boot and sock, and let the area air-dry for a minute. If you can, clean it with an alcohol wipe or a bit of soap and water. The idea is to get rid of any sweat or grit that's adding to the irritation.
Once the spot is clean and totally dry, it's time to protect it. Here are the go-to methods that seasoned hikers rely on:
No matter which you choose, the key is to apply it smoothly. Any wrinkles will just create new pressure points. This immediate action stops friction dead in its tracks and is often all you need to keep a potential hot spot from becoming a hike-ending blister.
Let's be real: even with the most careful planning, hot spots happen. Having a well-stocked, compact blister kit isn't just a "just in case" item—it’s a non-negotiable tool that can absolutely save your hike. This is about more than just tossing a few regular Band-Aids into your pack. We're talking about having the right gear and knowing exactly why each piece earns its place.
I like to think of this as my personal foot-saving arsenal. The goal is simple: create a lightweight kit that can shut down any friction issue the second it starts. Every item in there has a specific job, whether it's cleaning the skin or creating a tough, slick barrier over a tender spot.
Your kit needs to be built around a few core items. These are the workhorses, the things that will do the heavy lifting to stop a hot spot from graduating into a full-blown, trip-ruining blister.
A well-assembled kit transforms you from a victim of circumstance into a proactive problem-solver on the trail. Having the right tape and tools on hand is the difference between a minor annoyance and a hike-ending injury.
Once you’ve got the basics covered, you can start adding specialized items tailored to your own feet and the kind of trips you take. This is where you can fine-tune your kit for maximum impact without adding a bunch of dead weight.
For instance, you might want to pack moleskin for creating "donut" pads to go around bony spots like your ankle bone, or throw in some hydrocolloid gel pads to cushion blisters that have already formed. If you're someone who always gets blisters between your toes, a bit of lambswool or specific toe sleeves can be a game-changer.
Of course, your blister supplies should live inside a more comprehensive first aid kit. For a good rundown on what else to include, check out this guide on the essential items for a general first aid kit. Building and customizing your own kit is one of the most important steps you can take to master blister prevention out on the trail.
Even the most prepared hiker has questions out on the trail. In fact, some of the most heated debates I've heard around a campfire revolve around the tiny details of foot care. Let's tackle some of those common "what if" scenarios and clear up the confusion.
Getting these little details right can be the difference between a great hike and a painful one. Think of this as your quick-reference guide for handling those tricky situations when they pop up.
Ah, the classic debate. If you ask a doctor, the answer is almost always a hard no. That bubble of skin is your body’s own sterile, waterproof bandage, protecting the raw skin underneath from getting infected. Puncturing it is like opening a door and inviting all the trail grime inside.
But let's be realistic. Sometimes you're on a multi-day trek and a massive, tight blister makes every single step agonizing. If it's so painful you can't walk, you might feel like you have no other choice. If you absolutely must drain it, you have to be meticulous. Sterilize a needle with a flame until it’s red hot (and let it cool!) or use a fresh alcohol wipe. Make the tiniest pinprick at the very bottom edge of the blister and gently squeeze out the fluid. Immediately apply an antiseptic, and then cover it securely. Never, ever tear the skin off.
The Safest Bet: If you can walk without wanting to cry, leave it alone. Draining a blister should be an absolute last resort, not your go-to move.
You sure can, and it's a legendary trail hack for a reason. Many long-distance hikers have a small roll wrapped around their trekking pole or water bottle just for this purpose. The smooth, slick surface of duct tape is fantastic for reducing friction when applied over a hot spot.
The main drawback? Duct tape's adhesive is not made for skin. It can be irritating, and I've seen it tear off a layer of skin when removed—ouch. It also leaves behind a goopy, sticky mess. While it absolutely works in a pinch, a specialized product like Leukotape is a much better long-term solution. Its zinc-oxide adhesive is designed for skin, sticks better through sweat, and comes off cleaner.
This is one of those "it depends" answers that no one likes, but it's the truth. The timeline for breaking in boots varies wildly depending on what they're made of.
The golden rule is to never take brand-new footwear on a long hike. Start by wearing them around the house for a few hours. Then, move on to short walks on pavement, and finally, graduate to short, easy trails. Slowly increase the distance and start wearing a weighted pack. This gradual process is a non-negotiable part of basic hiking safety tips for beginners and ensures your feet and boots are ready for the main event.
This is a huge misconception. While waterproof boots are great at keeping water from creeks and rain out, they have a major downside: they don't breathe well.
All that trapped heat means your feet sweat more, and that sweat has nowhere to go. You end up with a warm, damp environment inside your boot—the perfect recipe for blisters, especially on hot days. For hiking in dry, warm climates, you're often far better off with a highly breathable, non-waterproof shoe that allows sweat to evaporate right through the fabric. It's all about matching your gear to the conditions.
At TREKOLOGY, we design our gear to help you stay comfortable and prepared for whatever the trail throws your way. From our supportive trekking poles that reduce joint impact to our lightweight chairs that make rest stops more restorative, we build equipment that enhances every aspect of your hike. Explore our full range of thoughtfully engineered gear at https://trekology.com and make your next adventure your best one yet.
Leave a comment