Certified Business
With over 10,000 orders
With over 10,000 orders

So, you’ve just finished a fantastic hike, but now your knees are screaming at you. That familiar, throbbing ache is a classic case of knee pain after hiking, and you're not alone. It's often the price we pay for a day on the trail, usually thanks to overuse, a bit of wonky form, or—the most common culprit—those punishing downhill sections.
The good news is that immediate relief often comes from simple, at-home care. The goal is to calm that inflammation and ease the discomfort so you can get back out there sooner rather than later.
The moment you hobble off the trail, your first mission is to give your knees some immediate TLC. Think of that ache—whether it's a sharp sting or a dull throb—as your body's way of saying it was pushed a little too hard. This happens to everyone, from first-timers to seasoned pros. We're not just trying to mask the pain; we're starting the recovery process right away.
Often, we're dealing with conditions like patellofemoral pain syndrome (often called "hiker's knee") or IT band syndrome. These are classic overuse injuries. The repetitive stress inflames the tendons and tissues around your kneecap and along the outside of your knee. And yes, trekking downhill is almost always the prime suspect.
This image really breaks down why our knees take such a beating on the descent.
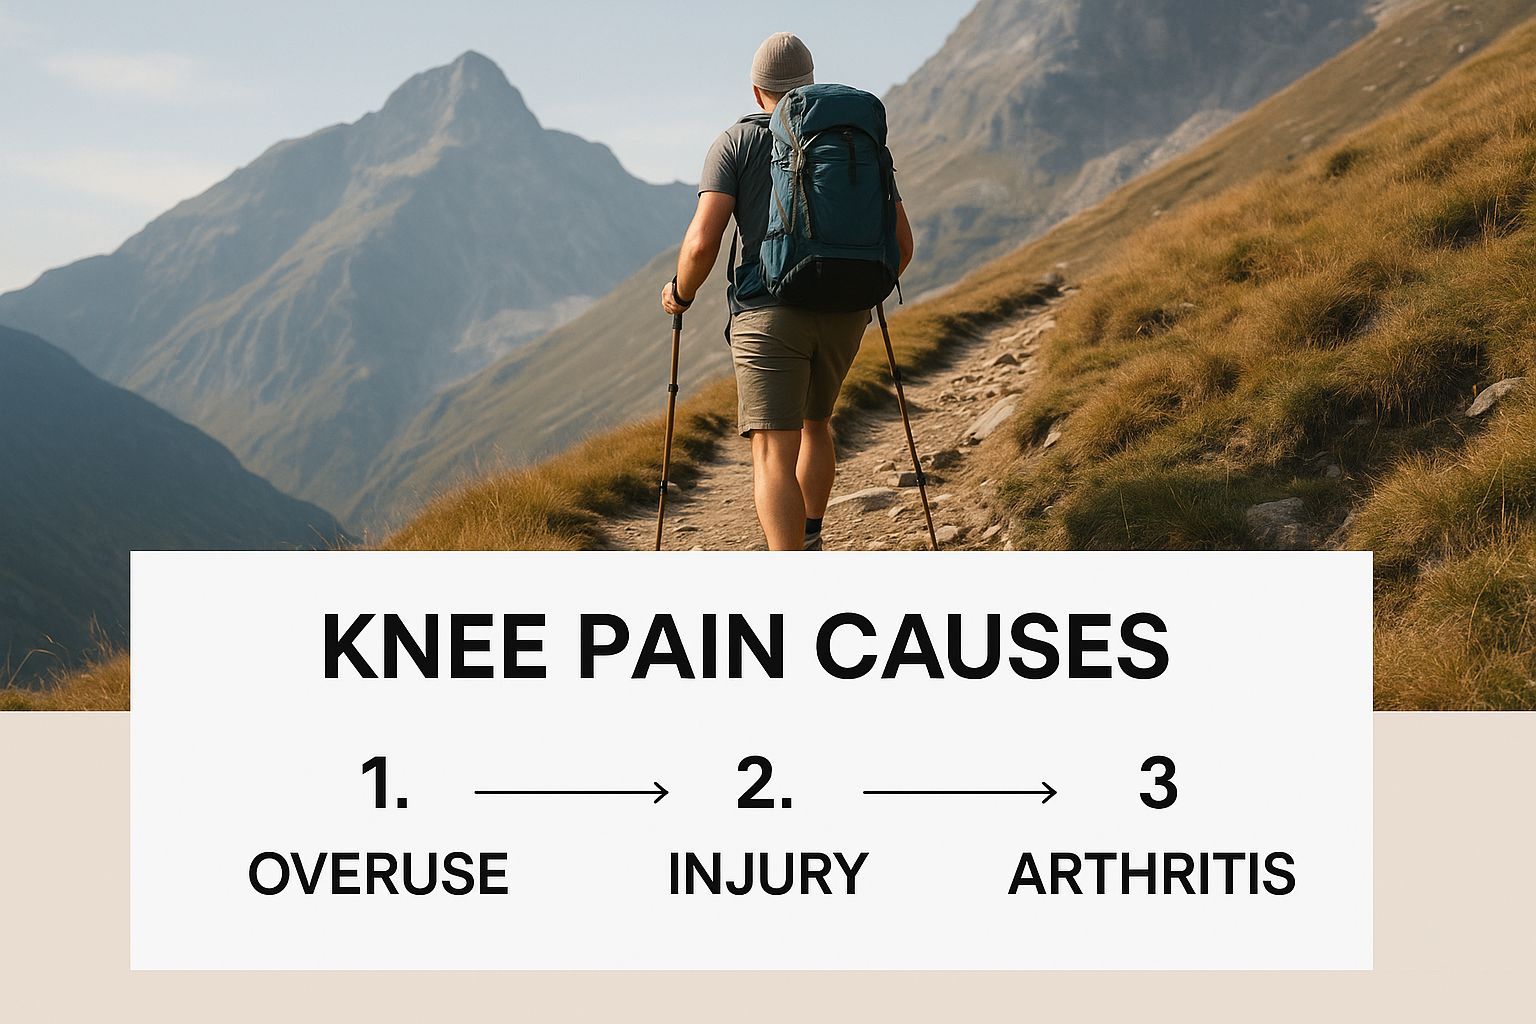
As you can see, that strain from heading down steep terrain is a massive factor in post-hike soreness.
When that pain hits right after a hike, knowing the first few steps to take can make a world of difference. Here’s a quick-reference table to guide your immediate actions.
| Action | How to Do It | Why It Helps |
|---|---|---|
| Rest | Stop all strenuous activity for 24-48 hours. No "testing it out." | Gives inflamed tissues time to heal without further aggravation. |
| Ice | Apply a cold pack (wrapped in a towel) for 15-20 minutes every few hours. | Reduces swelling and inflammation by constricting blood vessels. |
| Compression | Use an elastic bandage. Make it snug, but not circulation-cutting tight. | Helps control swelling and provides gentle support to the joint. |
| Elevation | Prop your leg on pillows to keep your knee above your heart. | Uses gravity to help drain excess fluid and reduce swelling. |
This simple R.I.C.E. protocol is your first and best line of defense against escalating pain and a longer recovery.
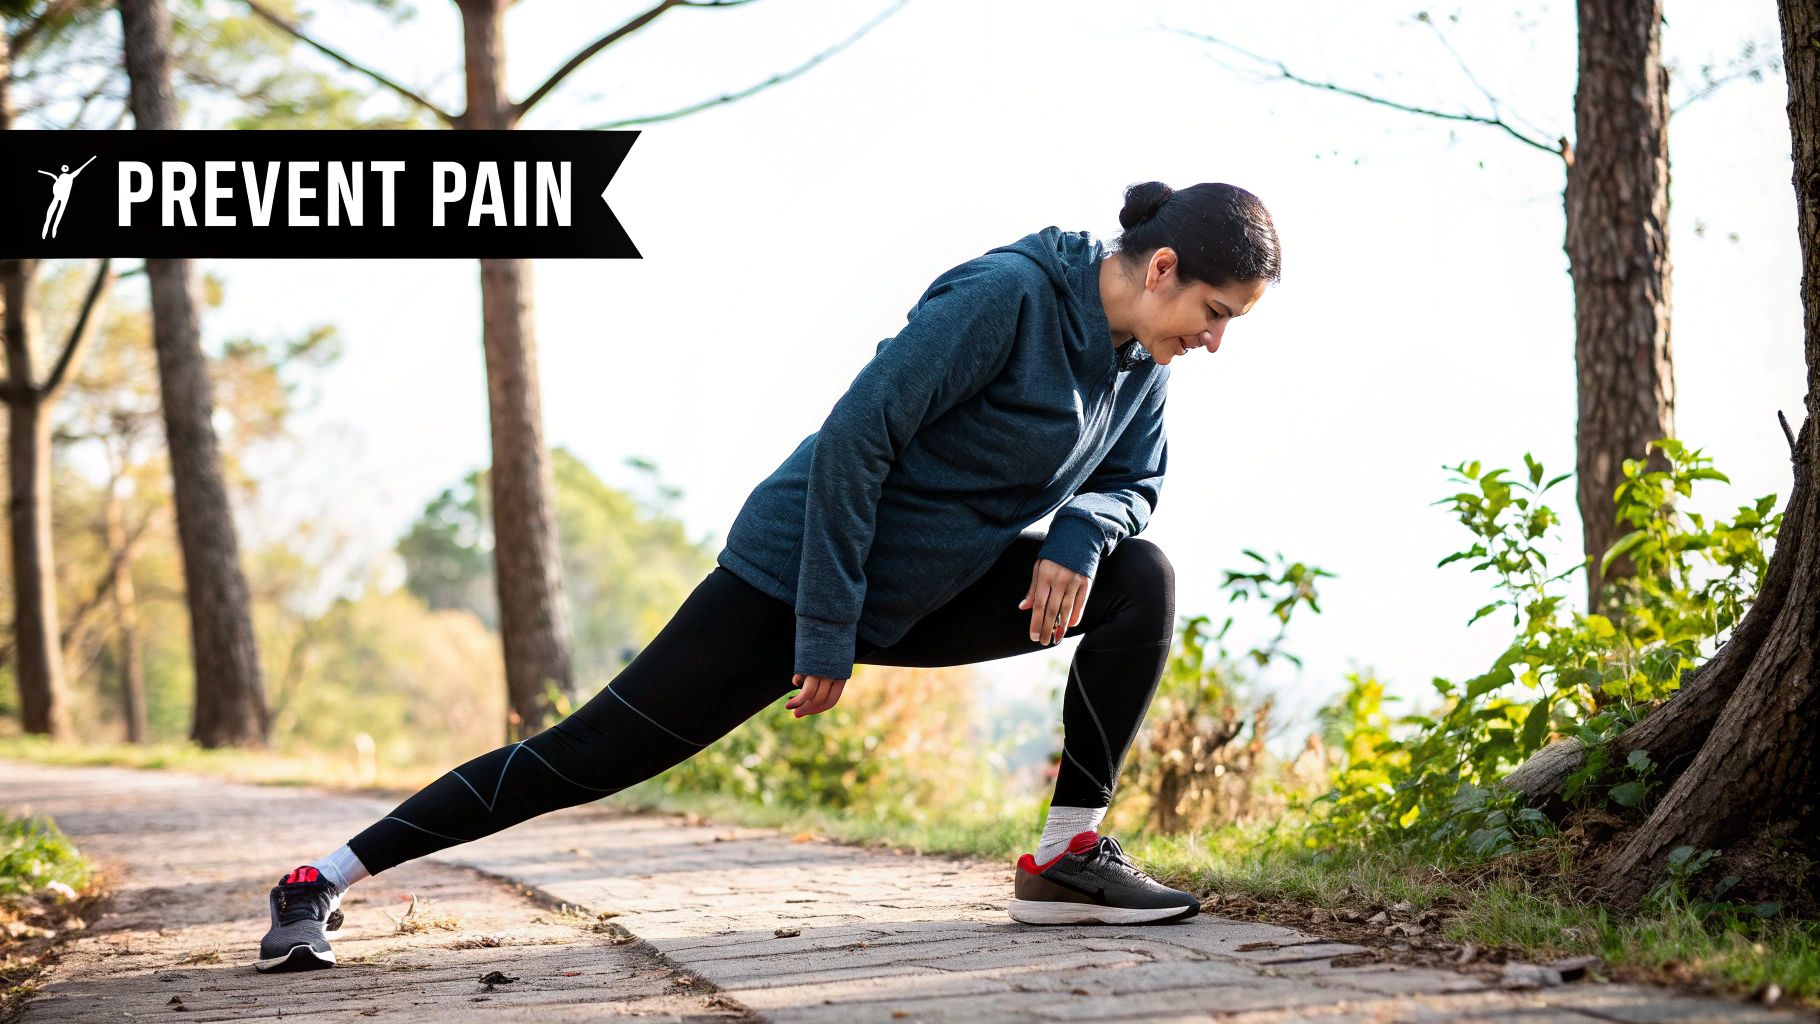
Once that initial, sharp pain starts to back off a little, some very gentle stretching is a great idea. It helps keep your muscles from seizing up, which can make the problem a whole lot worse.
If the discomfort is pretty significant, an over-the-counter anti-inflammatory like ibuprofen can be a huge help in managing both the pain and the swelling. For a deeper dive into recovery, check out these effective tips to reduce muscle soreness after a tough activity.
Here's a mind-blowing fact: The force hammering your knees during a descent can be up to eight times your body weight. No wonder they complain! That immense load is the primary reason "hiker's knee" is so common.
Figuring out exactly where your knee hurts is like getting a treasure map to the problem. Different aches and pains that pop up after a hike point to very different causes, and learning to read those signals is your first, most important step toward a real solution.
Think of it like being a detective. Was the pain a sharp, stabbing sensation, or more of a dull, constant ache? Did it scream at you on the downhills or only start nagging on the flats? The location is your biggest clue.
Where the pain shows up is a dead giveaway. Your knee is a complex piece of engineering, and pain in one spot usually tells you which part was overworked or strained on the trail.
Pain at the Front of the Knee (Anterior Pain): This is the classic "hiker's knee." If you feel it around or right under your kneecap, you're likely dealing with patellofemoral pain syndrome (PFPS). This kind of pain loves to make an appearance on descents when your quads are burning from acting as your body's brakes.
Pain on the Outside of the Knee (Lateral Pain): A sharp or burning pain on the outer side of your knee almost always points to IT band syndrome. Your iliotibial (IT) band is a long, tough strip of tissue running from your hip down to your shin. The repetitive motion of hiking can cause it to rub against your thigh bone, creating friction and inflammation.
Pain on the Inside of the Knee (Medial Pain): This one can be a bit trickier. It might be a strain on your medial collateral ligament (MCL) or irritation of something called the pes anserine bursa—a tiny fluid-filled sac. It often gets aggravated by hiking on sloped trails or by how your foot moves.
Pain Behind the Knee (Posterior Pain): This is less common, but it can signal tendonitis in your hamstring or calf. You might trigger it by over-striding, especially on those long, flat slogs or steep climbs where you're reaching with each step.
Here's a pro tip: sometimes, the real problem isn't your knee at all. Your body is one big connected system, and when something is off elsewhere, your knees are often the ones that pay the price.
Weak glutes are a huge offender. If your glute muscles aren't firing correctly, other muscles have to jump in and compensate, which can completely throw your alignment out of whack and put a ton of strain on your knees. In the same way, tight hamstrings or calves can tug on the joint and mess with how your kneecap tracks.
The root of knee pain after hiking often lies in your foot mechanics. Learning the difference between how your foot rolls inward or outward can be key. For a deep dive, this guide on understanding overpronation vs supination is an excellent resource.
Let's start connecting the dots. Think back to your last painful hike and see which of these sounds familiar.
Once you have a good idea of the source, you can start finding the right fix. For more great insights, you can also explore our 5 tips to avoid knee pain while hiking.
Here’s a hard-earned truth from years on the trail: the best way to deal with knee pain after hiking is to make sure it never starts. An ounce of prevention is worth a pound of cure, especially when that "cure" means hobbling back to the car.
It’s not about becoming a gym rat. It's about smart, targeted conditioning that turns your muscles into a built-in support system for your knees, making them way more resilient to the abuse of a long hike.
We need to think beyond just the knee itself. Your body works as a connected system—from your feet all the way up to your core. If one part of that chain is slacking, your knees are often the ones that get forced to pick up the extra work. That’s a recipe for strain and pain.
Let’s talk about your glutes. Seriously. They are the absolute powerhouse of your lower body, and most people don't use them nearly enough. When they’re strong and firing correctly, they control your hips and keep your pelvis stable. This stops your knees from caving inward on every step—a classic cause of trail-ending pain.
Think of it this way: if your glutes aren't doing their job, your knees are forced to take on a role they were never designed for. A few simple, consistent exercises can completely change this dynamic.
Key Insight: Strong glutes are your knees' best friends. When they engage properly on a hike, they absorb impact and control your leg alignment, taking a huge amount of pressure off your delicate knee joints.
Your quads (the big muscles on the front of your thigh) and hamstrings (the ones on the back) are your knee's primary shock absorbers and stabilizers. Strong quads help keep your kneecap tracking correctly, while flexible hamstrings allow for a smooth, efficient hiking stride.
Wall Sits are an absolute killer for building quad endurance without the impact. Just slide your back down a wall until your thighs are parallel to the floor and hold it. This mimics the exact muscle endurance you need for those long, brutal downhill sections that typically shred your knees.
For your hamstrings, you need a mix of strength and flexibility. Romanian Deadlifts (RDLs), even with just your bodyweight, are fantastic for building strength. Make sure you also have a good stretching routine to keep those hammies from getting tight and pulling on the back of your knee.
How you start and finish your hike can make or break your knees. A good warm-up gets your blood flowing and tells your muscles it's time to work. A cool-down helps you recover and prevents that dreaded next-day stiffness.
Take 5-10 minutes before you even step on the trail. This isn't about static stretching; it's about getting the body moving.
It's shocking how many hikers skip this. Overuse injuries are rampant, with studies finding 43-44% of hikers report acute joint pain, mostly in the knees. And the kicker? Research shows less than a third of us do any pre-hike conditioning, putting us at a much higher risk. You can read more on the prevalence of hiker injuries to see just how common—and preventable—this is.
After you've dropped your pack, give your muscles some love. Hold each of these for at least 30 seconds.
The gear you pack is more than just stuff to carry—it's your first line of defense against the relentless impact that leaves your knees aching after a long hike. Making smart choices here can dramatically reduce the stress on your joints, turning what could be a painful trek into an activity you can enjoy for years.
Think of it this way: your gear directly affects how your body absorbs shock and manages strain, especially on those long downhills where the force on your knees can multiply. Let's dig into the three most critical pieces of equipment that can make or break your knee health on the trail.
Your hiking boots or shoes are, without a doubt, the single most important gear investment you can make for knee protection. They're the connection between your body and the ground, and a poor choice here sends shockwaves straight up your legs and into your knees.
Hiking Boots vs. Trail Runners: A good pair of sturdy boots offers excellent ankle support, and that's huge. When your ankle is stable, it prevents all those tiny, incorrect movements that force your knee to compensate and twist in ways it shouldn't. Trail runners are lighter, which is nice for reducing fatigue, but they often sacrifice that crucial support.
Cushioning and Support: You want to see a midsole made from materials like EVA or polyurethane. Good cushioning isn't just about feeling soft; it's about real shock absorption. A firm, supportive footbed is also key to preventing your foot from rolling inward (overpronation), a common issue that puts a ton of rotational stress on the knee joint.
Key Takeaway: A proper fit is completely non-negotiable. Your toes should never be jammed into the front of the boot on descents, and your heel needs to be locked firmly in place. Your best bet is to visit a specialty outdoor store and get fitted by someone who genuinely understands the demands of hiking.
If you've been thinking trekking poles are just for older hikers, it's time for a reality check. When used the right way, they are one of the most effective tools out there for easing knee pain. They essentially turn hiking into a full-body workout, spreading the load across four points of contact instead of just two.
It's not just a feeling; it's a fact. Studies have shown that trekking poles can slash the compressive force on your knees by as much as 25%. On a long, steep descent, that adds up to a massive amount of saved impact. But you have to use them correctly to get that benefit.
Going Up: Shorten your poles so your elbows are bent at a 90-degree angle. You'll use them to push yourself upward, getting your arms and core involved and taking some of the burden off your quads.
Coming Down: Lengthen the poles. Plant them out in front of you as you step down, using them like a brake to absorb the shock before it even has a chance to reach your knees. This technique alone is an absolute game-changer for preventing "hiker's knee."
For a much deeper dive, our guide on the benefits of trekking poles for hikers breaks down every advantage in detail.
A quick walk down the pharmacy aisle can be confusing, with a whole wall of different knee supports. Do any of them actually help with knee pain after hiking? Sometimes, yes—but they are a tool, not a cure.
Compression Sleeves: These simple elastic sleeves are fantastic for providing some mild support and, more importantly, improving your proprioception. That's just a fancy word for your brain's awareness of where your joint is in space, which can help you move more carefully.
Patellar Straps: This is a small strap that fits right under your kneecap. It can be a real help for pain related to patellar tendonitis by putting gentle, targeted pressure on the tendon.
Hinged Braces: These are the heavy-duty option, offering serious support for things like ligament instability. You should really only be using one of these if a doctor has recommended it.
A brace can definitely be useful, but it should never become a crutch. If you find you can't hike without one, that's a huge red flag telling you it's time to get serious about those strengthening exercises to fix the root cause of the problem.
How you actually move on the trail is every bit as important as the strength you build in the gym. Seriously, adopting a few smarter hiking habits can be the difference between finishing your trek with a huge grin or a painful limp.
It's all about making simple tweaks to your technique. These adjustments can slash the braking forces that hammer your joints, especially during those long, grinding descents that we all know and love (or hate).
Let's get one thing straight: this isn't about hiking faster or harder. It's about hiking with more awareness and intention.
One of the biggest blunders I see on the trail is hikers just bombing downhill, taking these huge, jarring strides. Each one of those steps sends a massive shockwave straight up the leg and right into the kneecap. Ouch.
Instead, think about taking shorter, quicker, and softer steps. This simple change keeps your center of gravity more stable and forces your muscles to absorb the impact, giving your joints a much-needed break.
Think of yourself as a car in first gear navigating a steep hill. You need control, not raw speed. On steep sections, whether you're climbing or descending, using switchbacks is a non-negotiable rule for happy knees. Walking straight down a steep slope is a direct assault on your patellas. Zigzagging across the hill's face dramatically reduces the gradient, turning a high-impact plummet into a much more manageable walk.
Another fantastic pro-level technique for climbing is the "rest step". On the way up, make a point to pause for just a split second on each step, locking out your back leg so it's fully straight. This lets your skeleton—not your muscles—bear your weight for a moment. It sounds tiny, but over thousands of steps, this micro-rest drastically cuts down on muscle fatigue.
Key Insight: When you're heading downhill, always land with a bent knee. A straight-legged, heel-smashing stride is a recipe for disaster, transferring all that impact directly to your knee joint. Landing on a slightly flexed knee lets your powerful quad and glute muscles do their job and act as natural shock absorbers.
Your backpack can be your greatest ally or your worst enemy on the trail. A pack that's poorly fitted or badly packed can completely throw off your balance. When that happens, your core and leg muscles have to work overtime just to keep you upright. This leads to fatigue, which leads to sloppy form, which—you guessed it—leads to knee pain.
Make sure the heaviest items in your pack are nestled close to your spine, somewhere between your shoulder blades. And please, use your hip belt correctly! It should be carrying about 80% of the pack's weight. This takes the load off your shoulders and helps you maintain a much more natural, upright posture.
Finally, don't be a hero. Pushing through exhaustion is a fast track to injury. Take a solid five-minute break every hour. Drop your pack, have a good stretch, and drink some water. Staying properly hydrated is absolutely crucial for joint lubrication and muscle function. You can learn how to prevent dehydration while hiking to keep your body running like a well-oiled machine.

Even with the best prep in the world, a few nagging questions about knee pain almost always pop up. Let's tackle some of the most common ones we hear from fellow hikers. Hopefully, these straight-to-the-point answers can help you make smarter moves on the trail and get back on your feet faster.
Absolutely, as long as you're using the right one for the right reason. A simple compression sleeve can be great for providing gentle support and improving your joint awareness, a fancy term called proprioception. If your kneecap isn't tracking quite right, a patellar strap that sits just below it can make a world of difference.
But here's the thing: a brace is a tool, not a cure. It should always be used alongside strengthening exercises, never as a substitute for them.
Important Takeaway: If you feel like you can't hike without a brace, that's your body sending a pretty clear signal. It's time to dig in and address the real weakness or imbalance that's causing the pain.
This is where you have to become an expert at listening to your own body. A dull ache that fades away after some rest and ice is pretty standard stuff, especially after a tough hike. But some symptoms are definite red flags you can't ignore.
Keep an eye out for these warning signs:
If the pain sticks around for more than a week, even with home care, or if it's getting worse, it's time to see a doctor or a physical therapist. Pushing through serious pain is a surefire way to cause a much bigger problem down the road.
At TREKOLOGY, our whole mission is to design gear that makes your adventures more comfortable and sustainable. From our lightweight trekking poles to our supportive camp chairs and ergonomic pillows, everything is engineered to reduce strain on your body. That way, you can focus on the trail ahead, not the aches and pains. Explore our full collection at https://trekology.com and get geared up for your next pain-free hike.
Leave a comment