Certified Business
With over 10,000 orders
With over 10,000 orders

Photo by Toomas Tartes on Unsplash
Hiking the Appalachian Trail is a massive undertaking, and the real work starts long before you take your first step on that nearly 2,200-mile path. It's a journey that breaks down into a few core phases: planning your direction and timeline, getting your body and mind trail-ready, picking the right gear, and figuring out all the on-trail logistics.
So, you've decided to hike the Appalachian Trail. That's the first spark of an incredible adventure. But turning that dream into reality means looking beyond the epic summit photos and getting real about the commitment. This isn't just a long walk; it's a five-to seven-month marathon that will test your resilience in ways you can't even imagine.
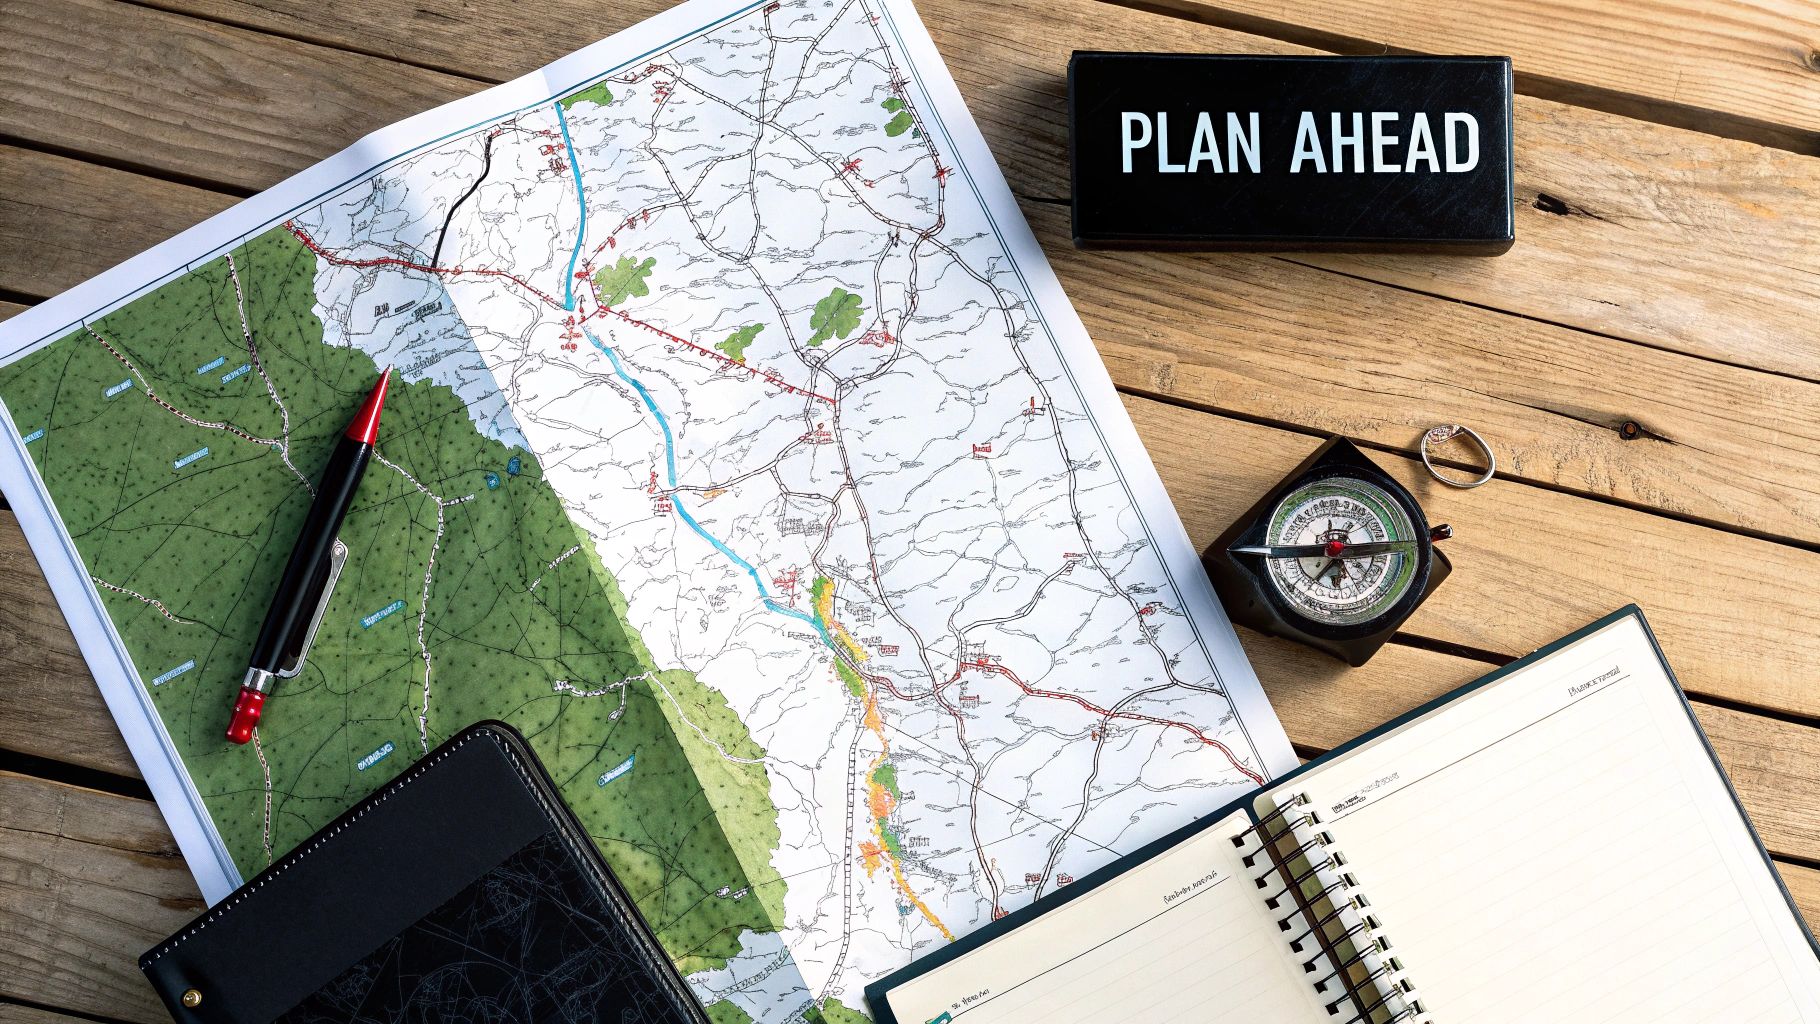
Success out there isn't about one big heroic effort. It’s about making thousands of smart little decisions, and the very first one is choosing which way you're going to walk.
Before you can pick a direction, you need to be honest about what kind of AT experience you're really looking for. Are you dreaming of a full thru-hike, or would a multi-week section hike—or even a series of fantastic day hikes—be a better fit for your schedule, budget, and fitness level?
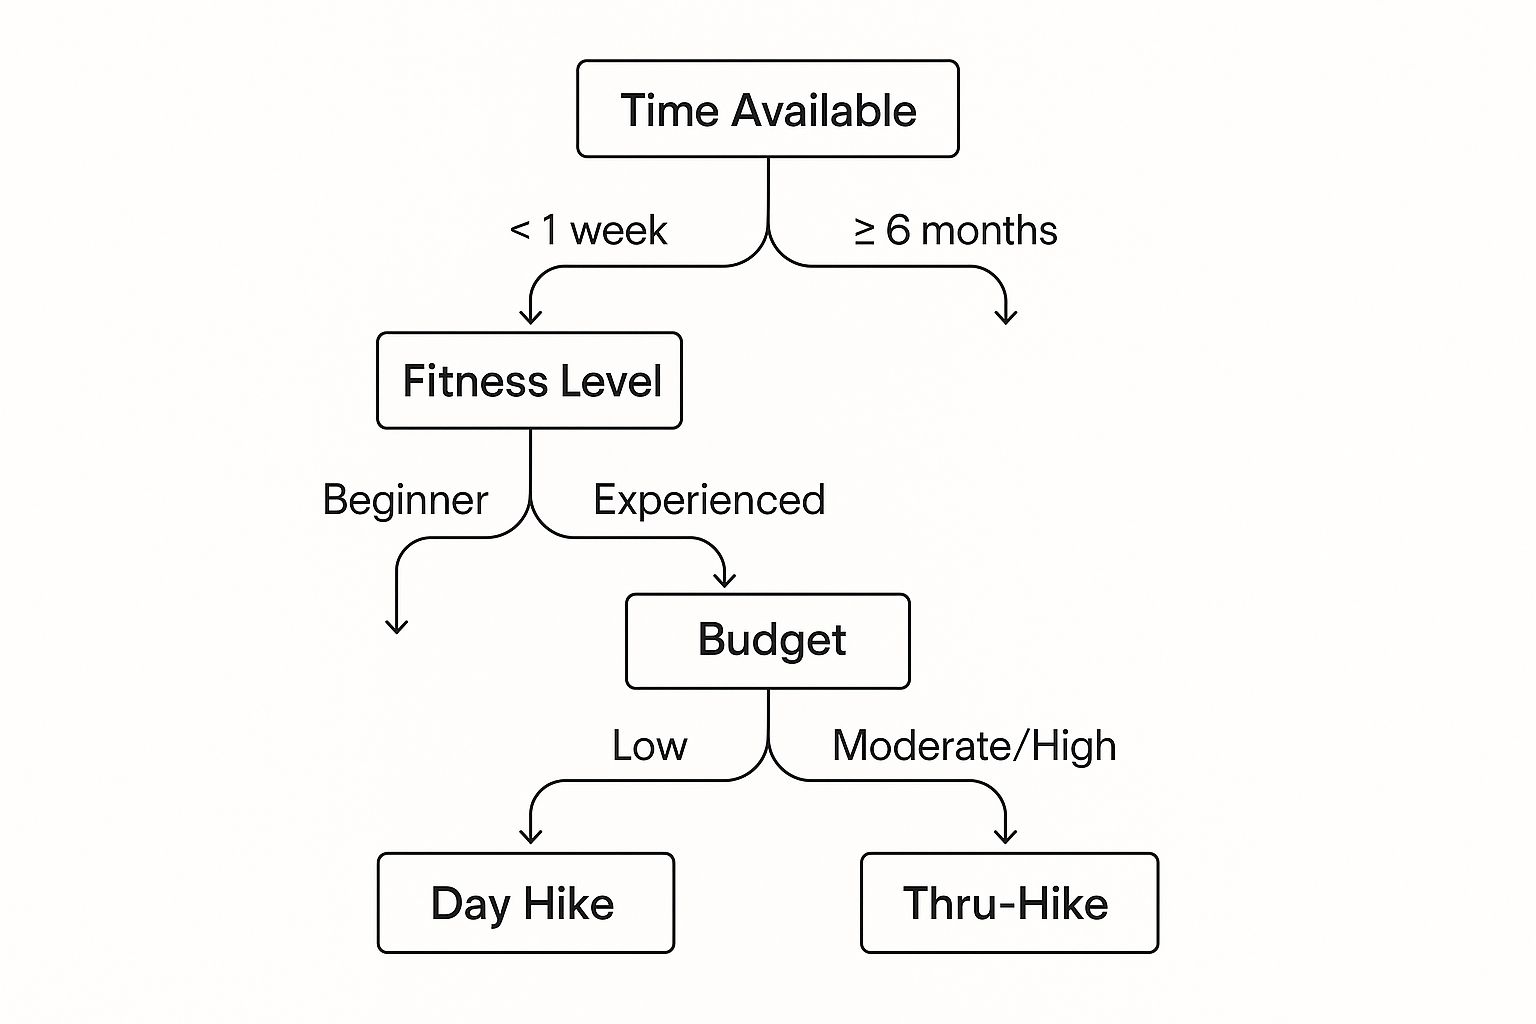
As you can see, a thru-hike is a whole different beast. It demands at least half a year of your life and a solid financial cushion, setting it far apart from shorter, more manageable adventures on the trail.
There are two classic ways to tackle a thru-hike: northbound (NOBO) or southbound (SOBO). Each route offers a completely different experience, with its own unique flavor and set of challenges.
Northbound (NOBO): This is the traditional route, starting at Springer Mountain, Georgia, in the early spring (think March or April). It's by far the most popular choice. You’ll be surrounded by a huge community of fellow hikers—the famous "bubble"—which is fantastic for morale and safety. The terrain in Georgia is tough, but it's a perfect training ground for what's to come.
Southbound (SOBO): This path begins at the iconic Mount Katahdin in Maine during the early summer (June or July). It's a much quieter, more solitary experience. But here's the catch: you start with the hardest, most remote section of the entire AT—the 100-Mile Wilderness, followed immediately by the brutal mountains of Maine and New Hampshire.
Honestly, choosing your direction is the biggest decision you'll make in this whole process. NOBO gives you a social vibe and a chance to build up your trail legs. SOBO throws you right into the fire for a quieter, more intense start.
The statistics tell the story. While thousands of people attempt a thru-hike every year, only about one in four makes it all the way. In recent years, around 3,800 hikers started as NOBOs, while just under 500 began as SOBOs. This huge difference shows just how powerful the social pull of the northbound bubble is—and how intimidating that southbound start can be. You can dig into more of these completion statistics on Wikipedia.
To help you weigh the pros and cons, here’s a quick breakdown of what to expect from each direction.
| Attribute | Northbound (NOBO) | Southbound (SOBO) |
|---|---|---|
| Starting Point | Springer Mountain, GA | Mount Katahdin, ME |
| Typical Start Time | March - April | June - July |
| Community | Very social; large "bubble" of hikers | More solitary; fewer hikers |
| Initial Difficulty | Moderately difficult; good training ground | Extremely difficult; most rugged terrain first |
| Weather | Start in cold, hike into summer heat | Start in summer, hike into fall/winter cold |
| Logistics | Well-established "hiker-town" support | Fewer resources initially; requires more self-reliance |
| Finishing Challenge | Summiting the formidable Mount Katahdin | A more gradual, less dramatic finish in Georgia |
Ultimately, the best choice really comes down to your personality and what you want from the trail. Do you thrive on community, or do you crave solitude? Do you want to ease into the challenge, or are you ready to face the toughest part right out of the gate? Answering those questions is the first real step in planning your thru-hike.
Your thru-hike doesn't start at Springer Mountain or Katahdin; it begins right now, months before you ever see a white blaze. The trail is an unforgiving teacher, and showing up unprepared is the fastest way to punch your ticket home before the journey really gets going. Success on the Appalachian Trail is built on a solid foundation of physical and mental conditioning.
The physical challenge is more than just a long walk. You'll be climbing and descending thousands of feet every single day, hauling a pack that seems to gain weight with every mile. This calls for a training plan that builds functional, trail-specific fitness, not just what you'd get from a generic gym workout.
Think of your body as your most important piece of gear. To get it ready for the relentless grind of a thru-hike, you need to zero in on three key areas: cardiovascular endurance, functional strength, and real-world practice.
First up, your heart and lungs need to be ready for the constant uphill battles. When it comes to cardio, consistency trumps intensity every time.
But the most critical part of your training? Simulating the real thing. You absolutely must get out on local trails with the pack you plan to use, loaded with the actual weight you'll be carrying. This is non-negotiable. It gets your shoulders, back, and hips used to the load and, just as importantly, helps you spot gear problems before you're 50 miles from the nearest town.
For a deeper dive into building that fitness base, check out our guide on how to get in shape for hiking. It lays out a structured approach to get you trail-ready.
Physical fitness will get you through the first few weeks, but it's mental toughness that will carry you to the finish line. The Appalachian Trail is often described as "glorified suffering" for a reason—it's full of rainy days, painful blisters, and moments of crushing loneliness.
The statistics are pretty sobering. Success rates for thru-hikers have fallen, with current completion estimates hovering around 30-40%. A huge number of hikers drop out early on; some data even suggests that half of all northbounders quit before reaching the halfway point at Harpers Ferry.
The trail isn't about avoiding the hard times; it's about developing the resilience to push right through them. Your mental game is a muscle, and just like your quads, it needs to be trained.
Start practicing resilience in your everyday life, long before you hit the trail. Go for a run when it’s pouring rain. Finish that tough workout when every part of you wants to quit. These small victories build the mental fortitude you'll lean on when you’re cold, wet, and questioning every life choice that led you to that moment. Developing robust stamina is key for those long days, and you can find proven strategies to improve your stamina to help you prepare.
You can start building the mental habits of a successful thru-hiker before you take your first step on the trail. This preparation is every bit as important as your physical training.
Here are a few strategies to start working on now:
Let's be real: diving into the world of hiking gear can feel like jumping into the deep end. You're hit with a tidal wave of reviews, forum debates, and strong opinions from every corner of the internet. But this isn't just stuff; it's your life-support system for the next five to seven months.
The secret isn't about buying the most expensive gear on the market. It’s about understanding the delicate dance between weight, durability, and comfort—and figuring out what makes sense for your hike and your budget.
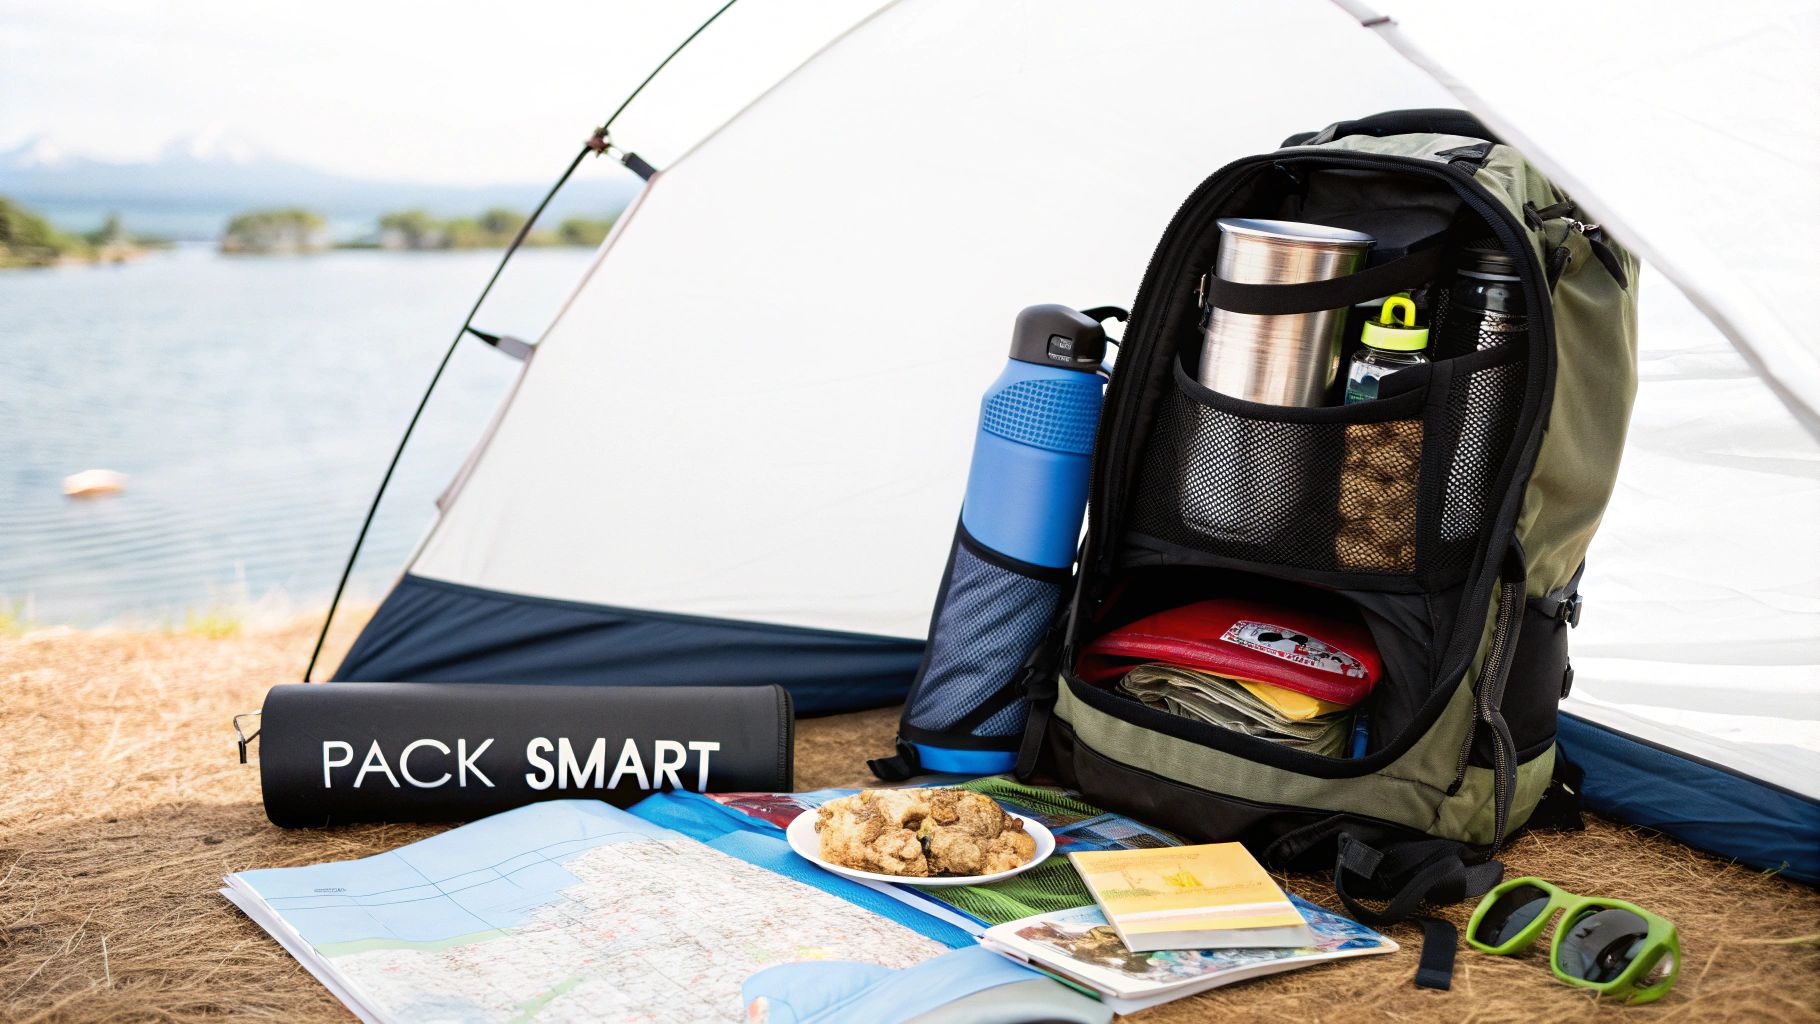
When you're figuring out how to hike the Appalachian Trail, every ounce is a prisoner. You will feel the weight of every single decision on those brutal 4,000-foot climbs. The best place to start chipping away at that weight is with the heaviest items in your pack: the "Big Four."
Your backpack, shelter, sleeping system, and cook kit are the foundation of your pack's weight. Nailing these choices is the single most impactful thing you can do for your comfort on the trail. Shaving pounds here directly translates to less strain on your knees and more gas in the tank at the end of the day.
Your Backpack: This is probably the most personal gear choice you'll make. A pack that feels like a dream to one hiker can be an instrument of torture for another. The sweet spot for most thru-hikers is a capacity between 40-60 liters. You absolutely must try on different packs loaded with weight to see how they settle on your hips and shoulders. For a deep dive, there's a complete guide on how to choose a backpack for hiking and backpacking that walks you through everything from sizing to key features.
Your Shelter: You're looking at two primary options here: a tent or a hammock. Tents offer incredible versatility and can be pitched almost anywhere. Hammocks, on the other hand, can provide unmatched comfort, especially in the thick forests of the southern AT. It's a trade-off between weight, weather protection, and how quickly you want to get set up each night.
Your Sleeping System: This is your sleeping bag (or quilt) and your sleeping pad. A bag or quilt rated from 20°F to 30°F (-6°C to -1°C) is a solid choice for the trail's three-season window. Down is lighter and packs smaller, but synthetic insulation is the safer bet when things get damp—and on the AT, things will get damp.
Your Cook Kit: Keep it simple. Most hikers get by just fine with a small canister stove, a little pot, and a long-handled spoon. This setup is light, dependable, and perfect for boiling water for your dehydrated meals, morning coffee, or oatmeal.
The gold standard for thru-hikers is to get your base weight—that’s your pack weight before adding food and water—under 20 pounds. Hitting this target makes the daily grind so much more manageable and significantly cuts your risk of injury.
Your clothing is your first line of defense out there. The trick isn't to pack a huge wardrobe, but to pack a smart, versatile layering system. Think in terms of three layers you can peel off or pile on as the weather changes—which it will, multiple times a day.
Footwear is where the rubber meets the trail—literally. For years, heavy leather boots were the only option, but the game has changed. Today, the vast majority of thru-hikers opt for lightweight trail runners. They breathe well, dry out quickly, and have almost no break-in period, which means fewer blisters. Some hikers even go for minimalist styles; you can learn more about choosing trail running barefoot shoes if you're curious about that approach.
Beyond the big stuff, a few smaller items are non-negotiable for staying safe and comfortable on the trail.
Trekking Poles: These are an absolute game-changer. Using trekking poles, like the lightweight aluminum ones from Trekology, can reduce the impact on your knees by up to 25%, especially on those long, punishing descents. They also act like a third and fourth leg for balance on slippery rocks and can even be used as tent poles for some ultralight shelters.
Water Filter: A reliable filter, such as a Sawyer Squeeze or Katadyn BeFree, is mandatory. You'll be treating water from countless streams and springs, and you don't want to play roulette with your digestive system.
First-Aid Kit: Go simple but effective. Make sure you have solid blister care (Leukotape is a trail legend), pain relievers, antiseptic wipes, and any personal medications you need.
Headlamp: A basic headlamp is essential. You'll need it for those pre-dawn starts to beat the heat and for navigating your way to the privy after dark.
Once you’ve got your gear dialed in, your mind naturally shifts to the day-to-day rhythm of trail life. This is the stuff that makes or breaks a thru-hike. Knowing how you'll eat, where you'll sleep, and how you’ll find your way is what separates the hikers who struggle from town to town from those who move with confidence and purpose.
The biggest logistical puzzle you’ll solve over and over again is your food resupply. This is a constant cycle: plan your food carry for the next 3-5 days, hike that stretch, get to town, and do it all again. Getting this right is everything—it fuels your body and keeps your pack from feeling like a bag of bricks.
Out on the AT, you’ve got two main ways to keep your food bag full: buying as you go or sending yourself mail drops. The truth is, most thru-hikers end up doing a bit of both. You’ll probably lean on the convenience of trail towns but use a few mail drops for remote sections or if you have specific dietary needs.
Buying in Town: The Appalachian Trail is famous for its hiker-friendly trail towns. Most have grocery stores, outfitters, or at least a gas station with hiker staples. This is by far the most flexible approach. It lets you chase your cravings and saves you from stressing about post office hours.
Mail Drops: This is where you pack boxes of food at home and mail them ahead to post offices or hostels along the trail. This can be a lifesaver if you have allergies or want to save money by buying in bulk. The big catch? You're chained to post office schedules, which can really mess with your hiking flow if you’re not careful.
I see so many hikers over-plan their mail drops. Trust me, you will get sick of the food you packed six months ago. A good rule of thumb is to rely on towns for at least 70% of your resupplies. It keeps your options open and your meals way more interesting.
No matter how you get your food, the name of the game is calorie density. You’ll be burning a staggering 4,000-6,000 calories a day, so every single ounce in your food bag has to earn its spot. Think peanut butter, tortillas, nuts, dried fruit, and instant mashed potatoes. It's not just about ramen and Snickers bars.
The AT is famous for its white blazes, but that doesn't mean you can just switch your brain off. Solid navigation skills are non-negotiable. Your smartphone will be your best friend, but you can’t put all your trust in it.
The FarOut app (which everyone still calls Guthook) is pretty much required reading for the modern thru-hiker. It’s a ridiculously detailed, crowd-sourced map that shows your exact location, every water source, shelter, campsite, and road crossing. It’s an absolute game-changer for planning your day.
But technology fails. Batteries die, phones take a swim in a creek, screens shatter. That's why you still need to carry a physical map and a simple compass—and actually know how to use them. It's the difference between a minor inconvenience and a serious problem.
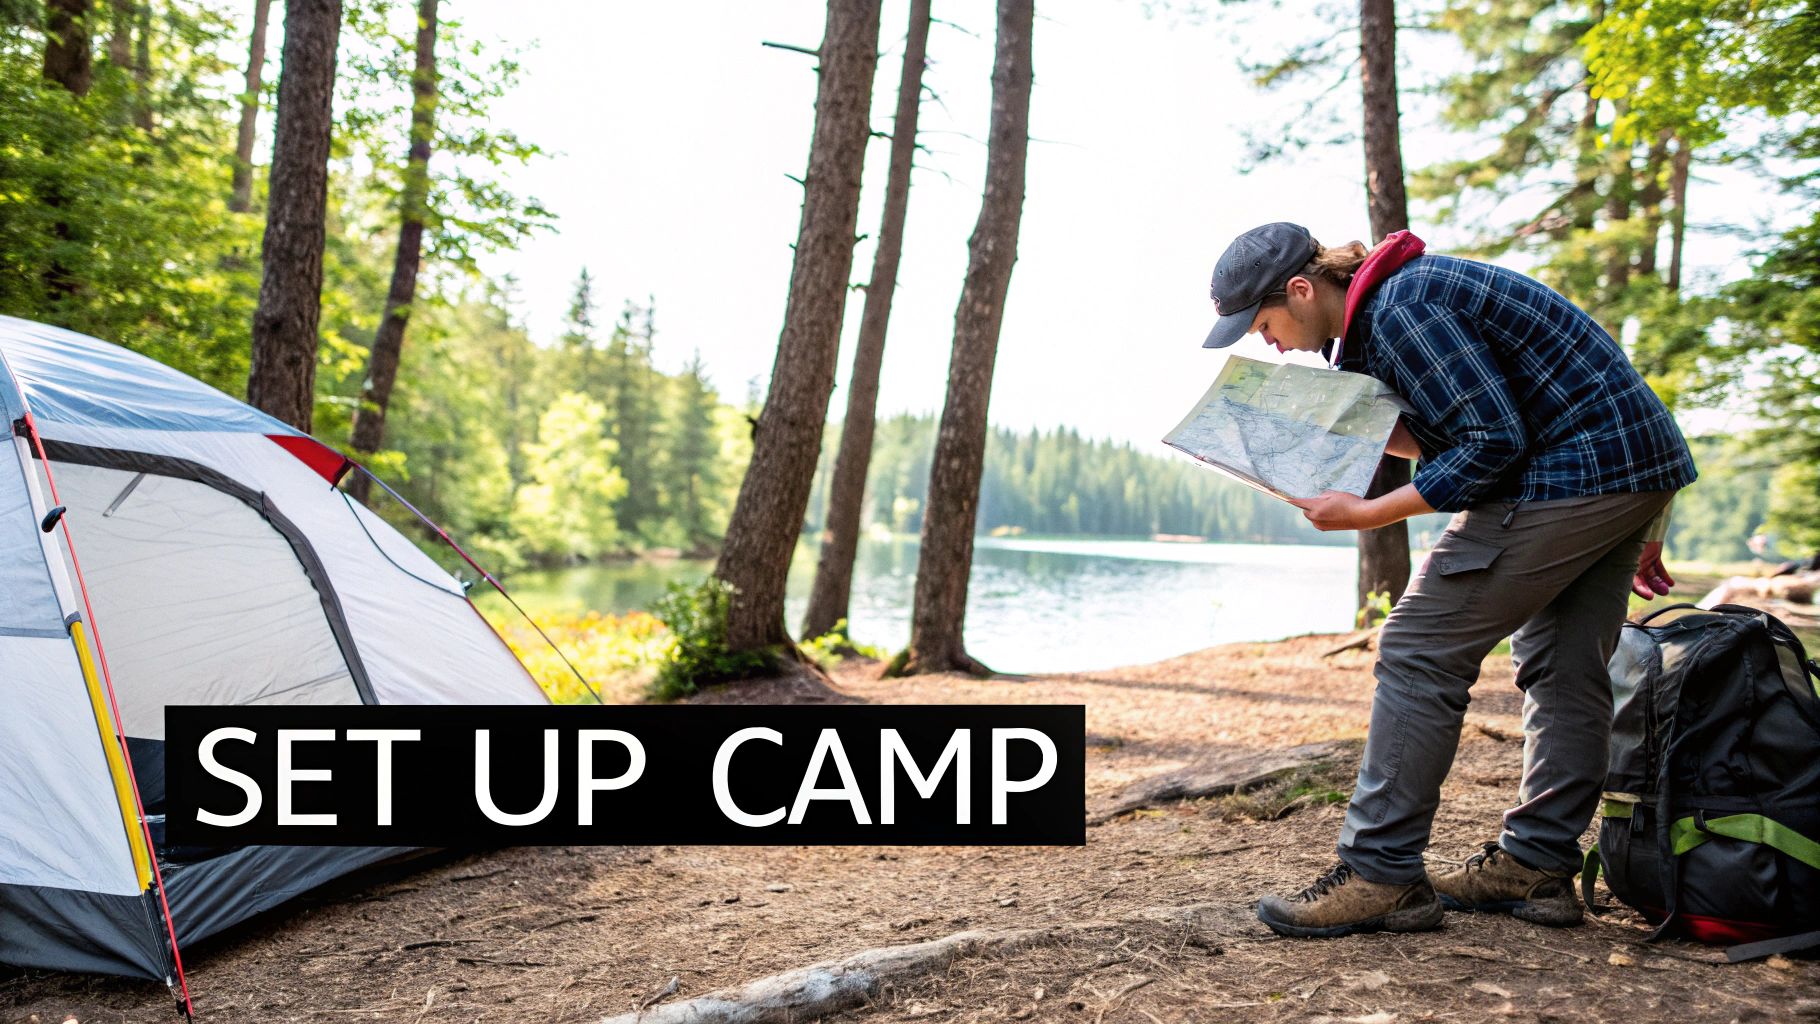
Your daily routine will quickly settle into a simple, deeply satisfying rhythm: wake up, hike, eat, sleep, repeat. A big part of that routine is sharing the trail and its shelters with the amazing community of hikers you'll meet. And that comes with a few unwritten rules.
Shelter Etiquette: Shelters are always first-come, first-served. If you roll in late and it's full, you pitch your tent. Simple as that. Keep your gear contained to make room for others, do your cooking away from where people sleep, and always pack out every single thing you packed in.
Leave No Trace: The seven Leave No Trace principles aren't just suggestions; they are the golden rules of the trail. Pack out all your trash (yes, even that apple core), use the privies when they’re available, and camp on durable surfaces. Following these guidelines is how we all work together to protect the trail for the hikers who will come after us.
By getting a handle on these logistics, you turn the overwhelming challenge of a thru-hike into a series of small, manageable daily wins. You learn to plan ahead, navigate like a pro, and become a good trail citizen. That’s when you can truly sink into the incredible journey ahead.
There are two things that will end a thru-hike faster than just about anything else: running out of money and getting injured. It’s that simple. Knowing how to manage your wallet and your well-being on the trail is just as critical as picking the right backpack.
Getting these two things right before you even leave home is what sets you up for success. It gives you the resources and the resilience to handle whatever curveballs the trail inevitably throws at you.
The first question everyone asks is, "So, how much does it really cost?" While it's different for everyone, a solid baseline to plan for is $1,000 to $1,500 per month on the trail. That means for a typical six-month hike, you'll want $6,000 to $9,000 saved up just for your time hiking.
Think of your total savings in three distinct buckets:
A financial buffer is non-negotiable. An unexpected piece of broken gear, a trip to an urgent care clinic, or a few extra zero days to wait out a storm can absolutely wreck a tight budget. Always, always have a contingency fund.
The Appalachian Trail is generally a safe place, full of incredible people. But let's be clear: it's still a remote wilderness. Staying safe out there means being prepared for the real risks, from wildlife and weather to your own two feet. Your well-being is 100% your responsibility.
And that responsibility applies to everyone. The trail sees a huge range of hikers. While about half of thru-hikers are in their 20s, plenty of finishers are in their 30s, 40s, and way beyond—some even complete the trail in their 80s! You can see more stats on the wide variety of hikers on the Appalachian Trail.
A smart hiker is a prepared hiker. This isn't about being paranoid; it's about being aware of the common challenges and knowing what to do when they pop up.
Here are the big ones to focus on:
One of the most valuable tools you can carry is a satellite messenger, like a Garmin inReach or a SPOT device. When you're miles from cell service, these gadgets can be a literal lifesaver, allowing you to send an SOS signal in a true emergency.
Finally, leave a detailed itinerary with someone back home. Give them your general plan, including which towns you expect to hit and a rough timeline. It's a simple step that provides a massive safety net if you ever run into trouble.
When you first start wrapping your head around hiking the entire Appalachian Trail, it's normal for a million questions to pop up. It’s a huge undertaking, after all. Let's tackle some of the most common ones that aspiring thru-hikers ask, so you can get some clear answers and start preparing with confidence.
This is the big one, isn't it? While your spending style on the trail will make the final number vary, a solid budget to aim for is somewhere between $6,000 and $8,000. That usually breaks down to about $1,000 per month you're out there. This covers your food resupplies, the occasional and much-needed hostel or motel stay on "zero days," gear replacements (trust me, something will break), and other town expenses.
Keep in mind that the number doesn't include your initial gear haul. If you're building your kit from the ground up, you'll want to set aside another $1,000 to $2,000 for your pack, shelter, sleeping system, and all the other essentials. You can definitely get by on less if you're super frugal, but having a contingency fund for unexpected costs is non-negotiable.
Nope, you don't need to be a seasoned mountaineer with decades of experience. But you absolutely must be prepared. Many people who successfully finish the AT weren't lifelong experts; they just trained specifically for the unique demands of this trail. Preparation is everything.
That means dedicating the months beforehand to regular hiking with a weighted pack to get your body used to the load. Build up your cardio and seriously strengthen your legs and core. But honestly? The mental game is even more critical than your physical fitness.
The trail is a mental game. Your ability to embrace the suck—the endless rain, the swarms of bugs, the bone-deep exhaustion—is what will ultimately get you to Katahdin or Springer.
Hiking the AT is generally considered safe, and a huge number of people start their journey solo. The trail is well-trafficked, especially for northbounders in the spring, so you'll rarely feel truly alone unless you want to be. Most solo hikers quickly link up with others and form a "trail family"—a tight-knit group that hikes together and looks out for one another.
That said, all the standard wilderness safety rules still apply. You need to carry a good first-aid kit, know how to properly store your food to keep bears away, and just generally be aware of your surroundings. For peace of mind, many hikers (solo or not) carry a satellite messenger for those stretches with zero cell service. It's a lifeline for communication and has an emergency SOS function just in case.
Your ideal start date really boils down to which direction you're heading. The weather windows are pretty specific, and hitting them right is crucial for a successful thru-hike.
Northbound (NOBO): If you're starting at Springer Mountain in Georgia and heading north, the classic start window is from early March to mid-April. This timing lets you follow spring as it moves up the coast, helping you dodge the worst of the winter cold up north and the peak of the summer heat down south.
Southbound (SOBO): For those starting at the formidable Mount Katahdin in Maine, the window is much tighter. You're looking at a June or early July start. This is because Baxter State Park (where Katahdin is) has specific opening dates, and you have to get through Maine's rugged mountains before winter slams the door shut in the fall.
At Trekology, we believe that the right gear can make all the difference on a journey as demanding as the Appalachian Trail. Our lightweight trekking poles, comfortable camp chairs, and inflatable pillows are designed to reduce strain and improve your rest, helping you stay strong from Georgia to Maine. Explore our full line of thoughtfully engineered gear at https://trekology.com.
Leave a comment