Certified Business
With over 10,000 orders
With over 10,000 orders

Photo by Dennis Yu on Unsplash
So, you’ve got the backpacking bug. That initial spark of an idea is always exhilarating, but turning that dream trip into a reality can feel like a mountain of a task before you even see the trailhead. Where do you start?
The secret isn't some magic formula. It’s about breaking it all down into smaller, more manageable pieces. Forget about those overwhelming, endless checklists for now. Let's start with the big picture first.
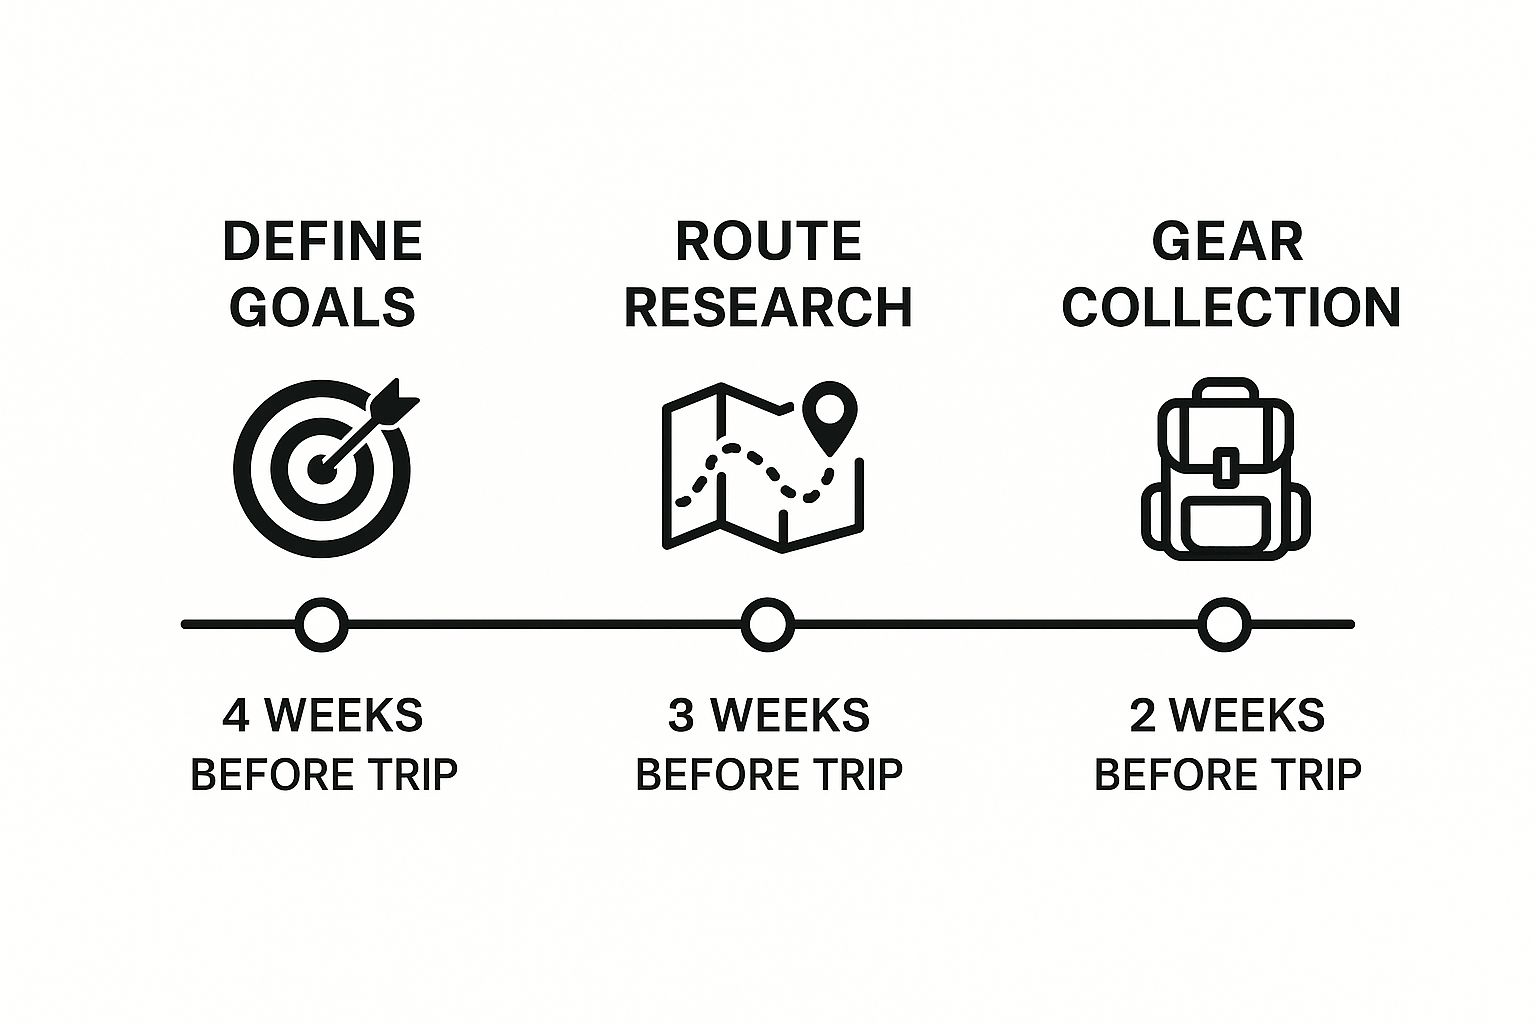
A truly great backpacking trip is built on four fundamental pillars:
When you look at it this way, the whole process feels much less intimidating. It becomes a clear journey from your couch to the trail, giving you the confidence to actually start planning.
To help you visualize the journey, it’s useful to think in terms of a timeline. This isn't about rigid deadlines, but rather understanding how one phase of planning flows into the next. You don't just research, pack, and go all in one weekend. It’s a process.
Here’s a quick overview to keep you on track:
| Planning Phase | Key Objective | Suggested Timeline |
|---|---|---|
| The Big Idea | Define what you want from your trip: solitude, social, challenge, etc. | 3-6+ months out |
| Research & Logistics | Choose a destination, research permits, book major transport. | 2-4 months out |
| Gear & Fitness | Acquire and test all your gear. Start your physical training. | 1-3 months out |
| Final Prep | Finalize your food, pack your bag (and repack it), share your itinerary. | 1-2 weeks out |
Think of it as building your trip layer by layer. This approach prevents that last-minute panic and makes sure you haven't forgotten anything critical.
With a general timeline in mind, you can dig into the foundational details. Start by asking yourself what kind of adventure you're craving. Are you picturing quiet nights under the stars in a remote mountain range? Or maybe you're excited to explore a new country and meet other travelers in hostels along the way? Your answer here will guide every other decision you make, from where you go to how much you'll spend each day.
And don't forget the physical side of things. It's just as important as your gear list. If you're tackling a challenging route, taking some time to improve your stamina will make your trip infinitely more enjoyable.
A good plan doesn't lock you in—it sets you free. When you've handled the essentials upfront, you have the freedom to be spontaneous and truly soak in the experience without worrying about the logistics.
Alright, this is where the fun really begins. Before you pack a single thing, you have to decide where you're actually going. This isn't just about spinning a globe and pointing; it's about matching a place to your experience, your budget, and the kind of adventure you're craving. This decision shapes everything else.
Some people dream of bucket-list treks like the Inca Trail to Machu Picchu. Others want the deep, quiet solitude of a mountain range nobody’s ever heard of. There's no right or wrong answer here, but there is definitely a right answer for you.
So, start with a little self-reflection. What are you really looking for? Are you after a grueling, character-building slog through raw wilderness, or more of a cultural journey where the trail connects you to small towns and local life?
Be brutally honest about your experience level. It's the single most important factor. If you've never carried a full pack for more than a day, signing up for a 50-mile off-trail route in a remote wilderness is a surefire way to have a miserable—and potentially dangerous—time. For your first few trips, look for well-marked trails, established campsites, and plenty of water.
As you start brainstorming, filter your ideas through these key questions:
A great way to go from a vague idea to a real plan is to pick a broad region first, then zoom in. I remember my first big trip started with just "Southeast Asia" on my mind. I researched the best seasons for each country, which helped me narrow it down to Thailand and Vietnam based on weather and the kinds of things I wanted to do.
The goal is to find that sweet spot where your desire for adventure meets your real-world capabilities. Pushing your comfort zone is part of the fun; being dangerously unprepared is not.
This early research phase is absolutely critical. You'll be looking at everything from climate and typical weather to visa requirements for international travel. And don't forget the cultural side—understanding local customs is just as vital as knowing the trail's difficulty rating.
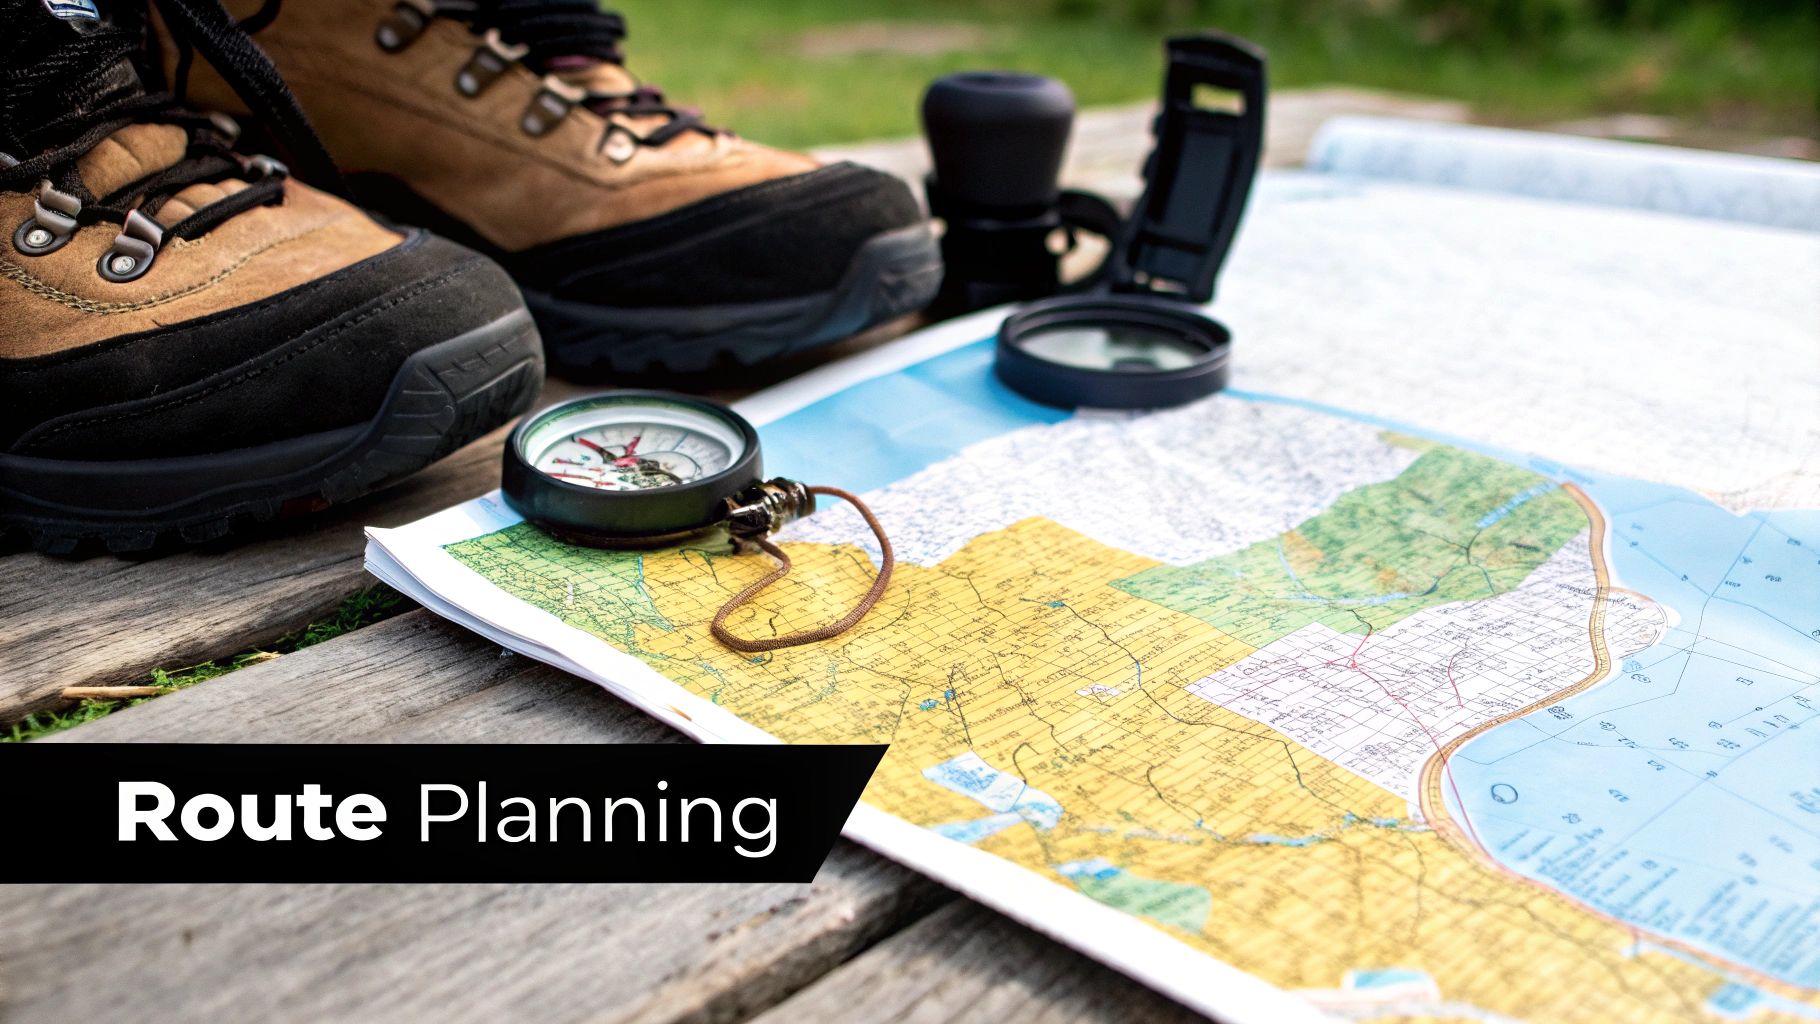
Once you've zeroed in on a place, it’s time to get down to brass tacks. This is how you turn that dream into a real, actionable itinerary. You need to dig into the nitty-gritty details that will define your day-to-day on the trail.
Start by sketching out a rough route. It doesn’t need to be set in stone, but you need a solid outline. How many miles can you realistically cover each day? It's a classic rookie mistake to be over-ambitious here. Don't just look at distance; you have to account for elevation gain, the roughness of the terrain, and time for breaks.
Here are the logistical nuts and bolts you need to figure out:
We're seeing a trend where more and more people want unique experiences. In fact, about 30% of backpackers are specifically looking to explore less-traveled areas to find that feeling of discovery. That’s awesome, but it also means you have to be extra diligent about your planning, safety, and self-sufficiency. You can get more details about modern trip planning from backpacking experts.
The best backpacking plans are solid enough to keep you safe but flexible enough to let you seize the moment. Think of your itinerary as a strong framework, not a rigid cage.
For instance, your plan might be to hike 10 miles a day. But what if you come across a perfect alpine lake at mile 7 and the sun is shining? A flexible plan lets you call it an early day and go for a swim. On the flip side, what if a nasty storm rolls in and you need to stay put for an extra day? A good plan has that buffer built in.
Here’s a simple way to think about building in that flexibility:
| Plan Component | Rigid Element (Non-Negotiable) | Flexible Element (Adaptable) |
|---|---|---|
| Route | General direction and major waypoints. | Exact daily start/stop times and campsites. |
| Timeline | Your flight home or a permit entry date. | How many miles do you cover on any given day? |
| Lodging | First and last night's accommodation. | Booking hostels only a day or two in advance. |
This balanced approach is what turns a good trip into an amazing one. It gives you the confidence of being prepared while leaving room for all the unexpected magic that happens on the trail.
Let's be honest—your gear is more than just stuff you lug around. It’s your lifeline, your portable home. But walking into an outdoor store or scrolling online can feel overwhelming. The sheer number of options is enough to make anyone’s head spin.
So, how do we cut through the noise? It starts by focusing on smart, practical choices that actually fit what you need.
The absolute foundation of any good backpacking trip is choosing the right backpack travel bag that feels comfortable and supports your adventure. This single piece of gear is the cornerstone of your entire kit. A bad pack can turn a dream hike into a painful slog, but the right one feels like it’s barely there.
It’s easy to get caught up in the hype of having the "best" of everything, especially when you're starting out. The real goal isn't about brand names; it's about having the right gear for your specific trip. An ultralight setup for a desert thru-hike looks completely different from what you'd need for a rainy weekend in the mountains.
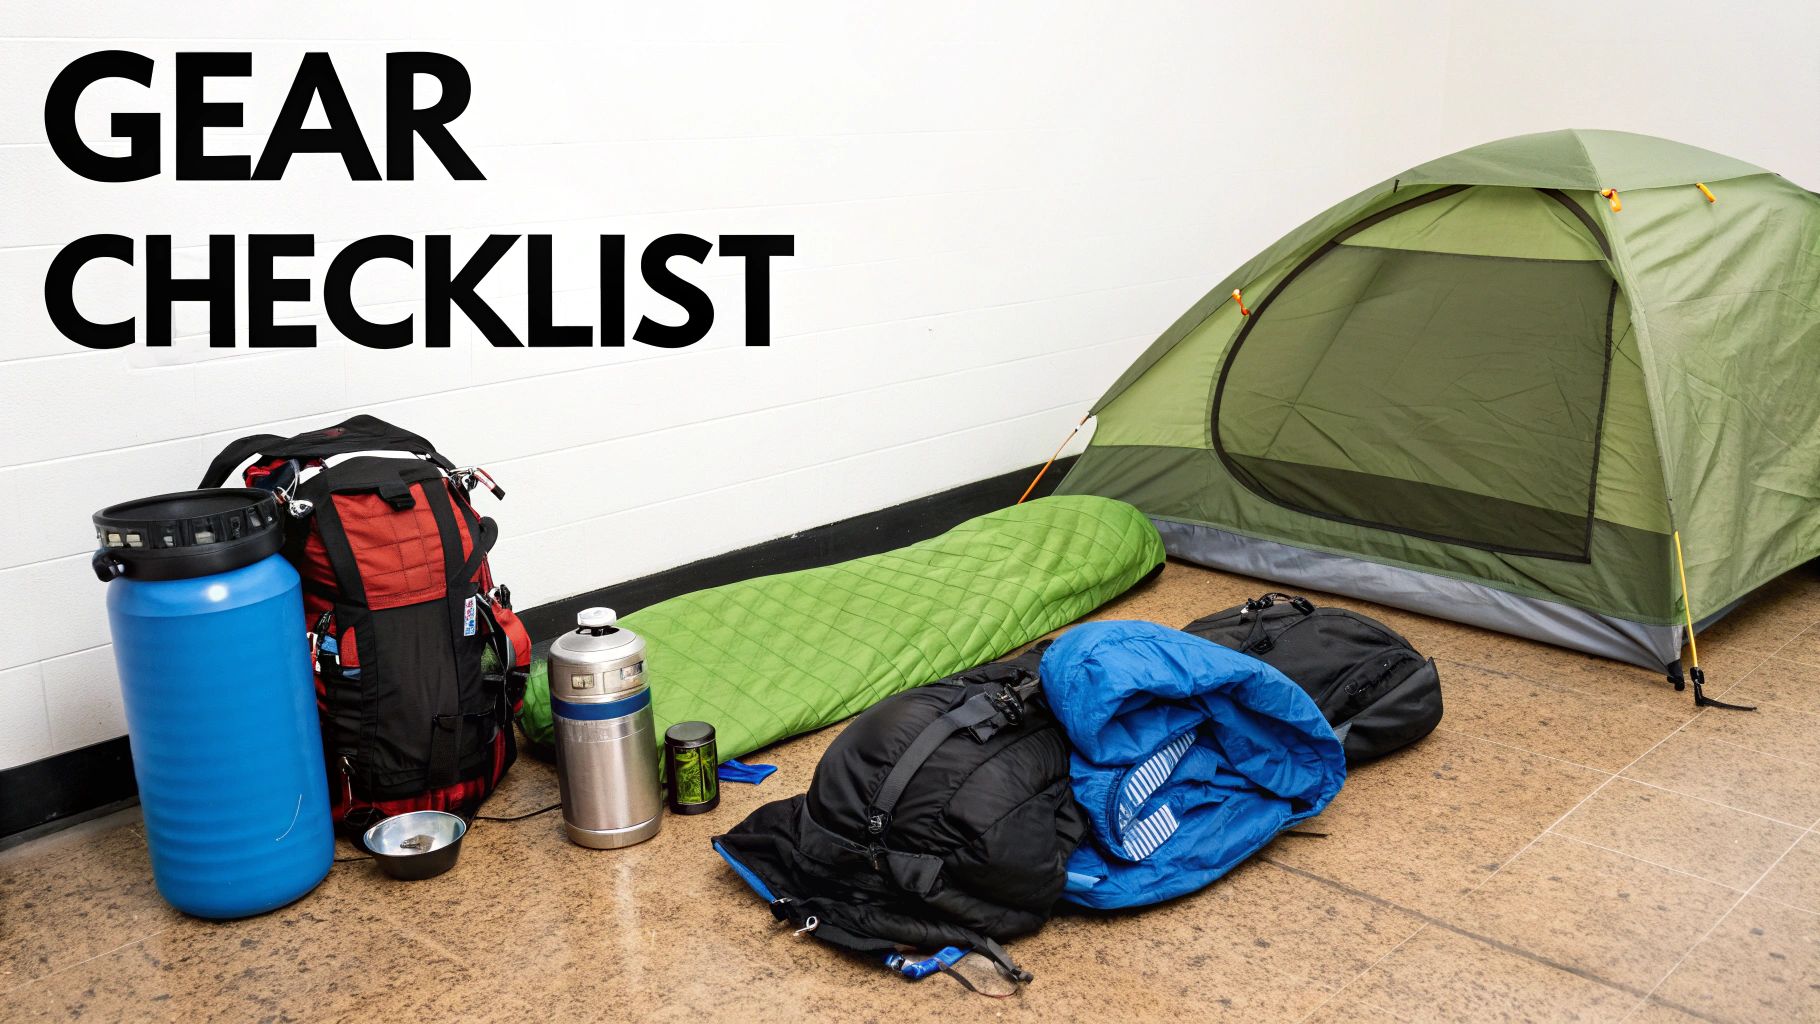
Your gear-picking journey should always start with what we call the "Big Three." These items are almost always the heaviest, most expensive, and most critical pieces for your safety and comfort on the trail. Nail these, and you're already halfway to a great setup.
Your Backpack: This is so much more than a sack for your gear. It’s a carefully engineered system built to transfer weight from your shoulders to your much stronger hip muscles. Pack size is measured in liters, and a 40-65 liter pack is the versatile sweet spot for most weekend to week-long adventures.
Your Shelter: For most of us, this means a tent. Modern backpacking tents are impressively light and surprisingly storm-proof. When choosing, think about capacity (a 2-person tent is often a perfect, roomy choice for a solo hiker), seasonality (a 3-season tent handles most conditions outside of heavy snow), and, of course, weight.
Your Sleep System: This is a two-part system: your sleeping bag (or quilt) and your sleeping pad. The bag's temperature rating is crucial. My rule of thumb is to always choose one rated at least 10-15°F colder than the lowest temperature you actually expect. Don't forget the pad—it provides vital insulation from the cold ground, not just cushion.
Getting the pack itself right is so critical, and a proper fit is completely non-negotiable. I've seen too many people buy a pack online without trying it on, and it's a huge mistake. You have to measure your torso length and make sure the hip belt sits perfectly on your iliac crest. To get this spot-on, check out this detailed guide on how to choose a backpack for hiking and backpacking that walks you through every step.
Your clothing is your first line of defense against the elements. The key concept here is layering, not just bundling up. And please, forget cotton. It soaks up moisture, loses all its insulating properties when wet, and can become a serious safety hazard.
Instead, build a system of layers that work together:
Out on the trail, your feet are your most valuable asset. Blisters are easily one of the most common trip-ruiners out there. Do yourself a favor and invest in a good pair of hiking boots or trail runners that fit you well. And never, ever wear them for the first time on a big trip. Break them in on shorter walks around town to find any hot spots before they become a real problem.
Pro Tip: Your socks are just as important as your footwear. I always pack multiple pairs of quality merino wool or synthetic hiking socks. This lets you rotate them, giving one pair a chance to dry out while you wear another. It’s a total game-changer for foot health.
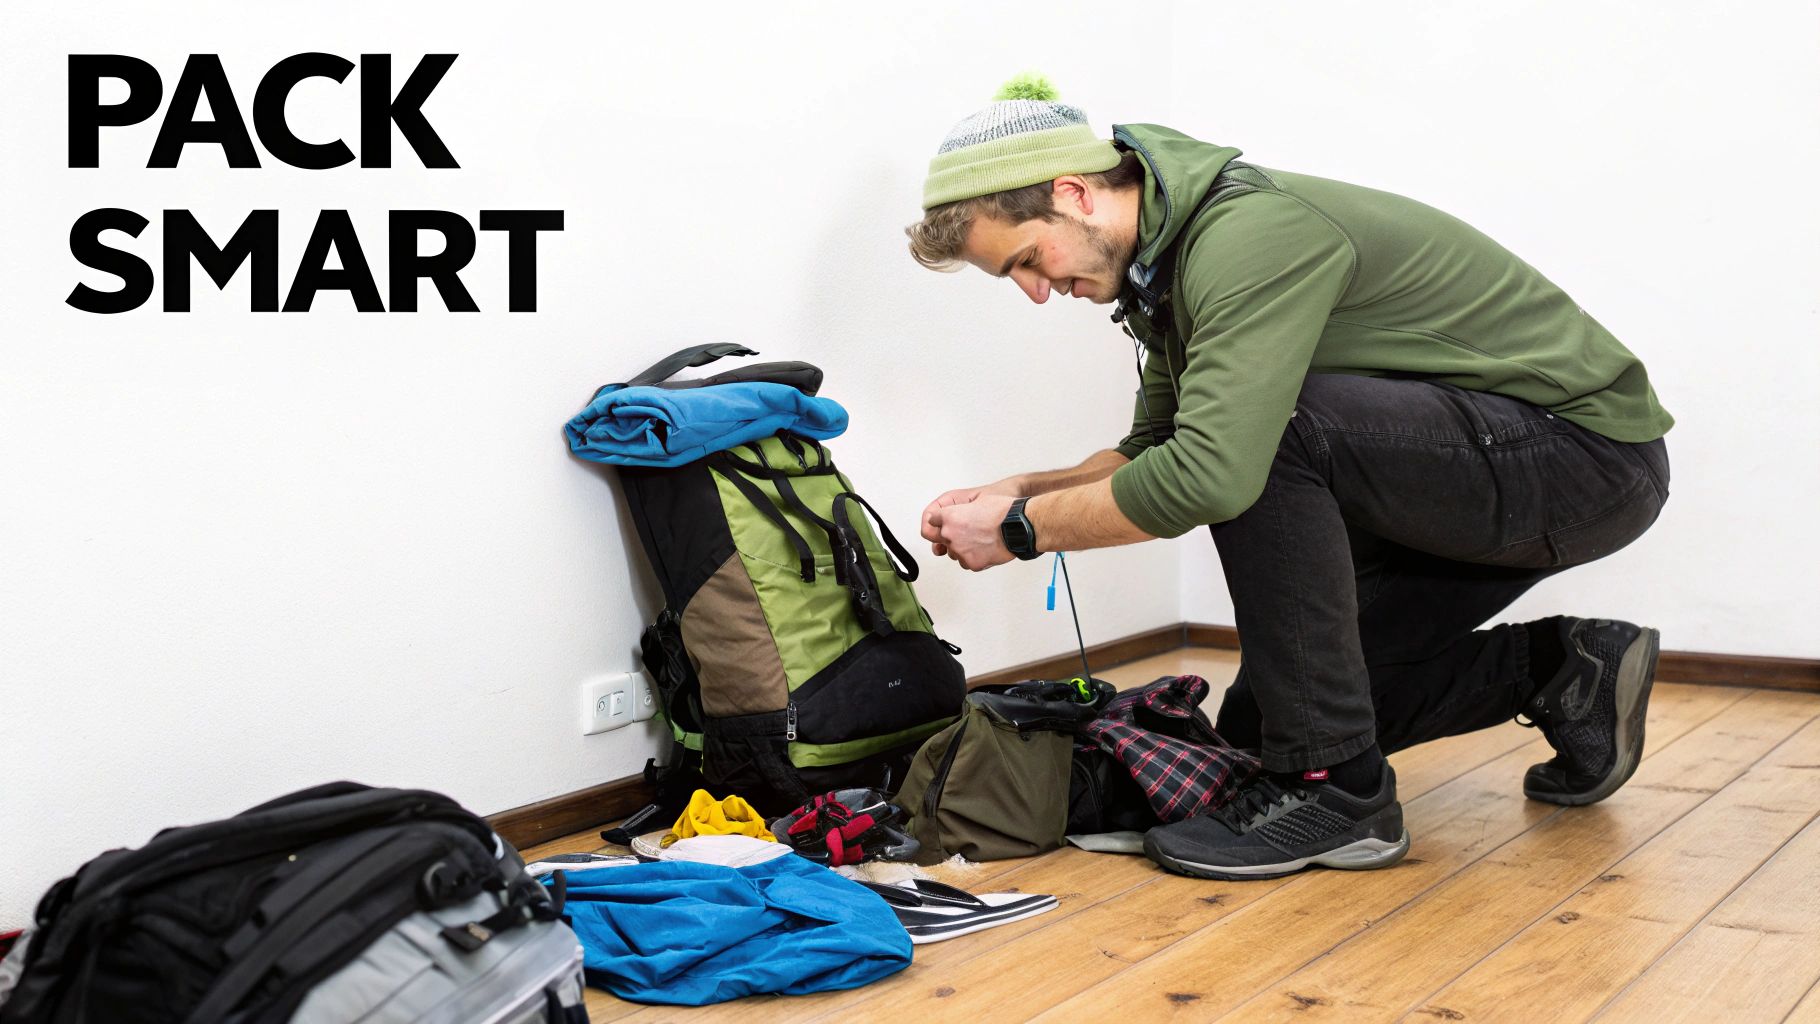
How you pack your bag is just as important as what you put inside it. A well-packed bag is more stable, comfortable, and efficient to carry. The main goal is to keep the heaviest items snug against your spine and centered between your shoulder blades.
Think about packing your bag in zones:
| Pack Zone | Gear Type | Rationale |
|---|---|---|
| Bottom | Bulky, lighter items you won't need until camp. | Sleeping bag, sleeping pad, camp clothes. |
| Middle (Core) | Your heaviest items. | Food bag, water reservoir, cooking stove. |
| Top | Things you need easy access to throughout the day. | Rain jacket, first-aid kit, snacks, water filter. |
| Accessory Pockets | Small essentials you need on the fly. | Headlamp, map, compass, sunscreen, bug spray. |
This packing method creates a solid center of gravity, which stops the pack from pulling you backward or swaying around. It makes a massive difference in how the weight feels after a few hours on the trail.
Once everything is in, cinch down all the compression straps. This makes the load tight and compact, preventing gear from shifting as you move. A stable pack saves you energy, improves your balance on tricky terrain, and is ultimately a safer pack.
Let's talk about money. A solid budget isn't about restricting your fun; it's what sets you free to actually enjoy your trip without constantly worrying about your bank account. Getting a handle on your numbers before you go means less stress on the trail.
Think of your backpacking budget in two distinct piles: the money you spend before you even leave home, and the cash you'll burn through while you're out there.
The first pile, your pre-trip costs, is for the big-ticket items. We're talking flights, that new backpack you've been eyeing, visa applications, and of course, travel insurance. These are usually the biggest single purchases you’ll make for the entire adventure.
The second pile covers your on-the-ground expenses. This is the day-to-day stuff: where you’ll sleep, what you’ll eat, how you'll get around, and all the cool activities you want to do. Nailing down a realistic daily average here is the secret to making your travel fund last.
Alright, time to get practical. The easiest way to start is by simply listing everything out. A spreadsheet is great, but even a note on your phone will do the trick. The key is to separate your costs into those two main categories we just talked about.
Pre-Trip Expenses (The Big Tickets):
On-the-Road Expenses (Your Daily Burn):
To give you a rough idea, a trip through Southeast Asia might run you $30-$50 per day. A similar trek in Western Europe? That could easily climb to $70-$100 daily. Do your homework on your specific destination to get a realistic number. Food is a massive variable; cooking your own meals can slash your daily costs. For wilderness trips, our in-depth guide to backpacking food and meal planning is a goldmine for saving money and eating well.
Here’s a piece of hard-won advice: Calculate your total estimated cost, then add a 15-20% buffer. This is your contingency fund. It’s for the flight you have to rebook, the gear you lose, or that amazing side-trip you just can't say no to.
For most of us, backpacking and hostels go hand-in-hand. They’re so much more than just a cheap place to crash—they are the social epicenters of the travel world. This is where you meet people, share stories, and find new adventure buddies.
The numbers back this up. Over 80% of backpackers have stayed in hostels. It's not just about the price tag; the top reason people go backpacking is to dive into new cultures and connect with other travelers. It makes perfect sense that two-thirds of backpackers are between 20 and 25, an age where that social connection is everything. You can dig into more of these trends with these fascinating insights on backpacker statistics.
When you're booking, sites like Hostelworld and Booking.com are your best friends. But always read the most recent reviews. Look for comments on cleanliness, security (lockers are non-negotiable), and location. A super cheap hostel that’s miles away from everything can end up costing you more in both transport and time.
While hostels are a classic for a reason, they aren't your only choice. Mixing up where you stay can add a whole new dimension to your trip, depending on your style and destination.
Here’s a quick look at some other great options:
| Accommodation Type | Best For | Pros | Cons |
|---|---|---|---|
| Guesthouses/Pensions | Cultural immersion, more privacy | Often family-run, authentic experience, private rooms. | Less of a party/social scene than a hostel. |
| Couchsurfing | Budget purists, local connection | It's free, you stay with a local, incredible cultural exchange. | Comfort isn't guaranteed; requires social energy. |
| Wild Camping | Wilderness lovers, ultimate freedom | Free, incredible scenery, total solitude. | Requires more gear; legality varies wildly. |
| Airbnb/Rentals | Groups or longer stays | Kitchen access, more space, and comfort. | Can be isolating, often more expensive than hostels. |
Wild camping, in particular, demands some serious homework. In places like Scotland and parts of Scandinavia, it’s legal and accepted under "right to roam" laws. But in most U.S. National Parks and other protected areas, you have to stick to designated campsites to protect the environment. Always, always check the local rules before pitching your tent.
Ultimately, where you lay your head each night will fundamentally shape your journey. Pick the options that feel right for the adventure you want to have.
With your gear packed and your route mapped out, there's one last crucial piece of the puzzle: your well-being. Thinking ahead about safety isn't about being scared of what might happen. It’s about being prepared and building the confidence to handle whatever the trail throws your way.
Ultimately, your health and safety are what make a trip successful. This means being proactive, not reactive. Knowing how to deal with a blister before it ruins your hike or how to find your way when the GPS dies—these skills are just as vital as your tent.
You don't need a medical degree to backpack, but you absolutely need to know how to handle common trail issues. A fancy first-aid kit is just dead weight if you don’t know how to use what's inside.
Take blisters, for example. They can end a trip faster than you'd think. The second you feel a "hot spot" forming on your foot, stop. Right then and there. Deal with it immediately with moleskin or medical tape. Don't tell yourself you'll fix it at the next break.
A couple of other common culprits to watch for:
Dehydration: By the time you feel thirsty, you're already behind. Make a habit of sipping water consistently all day long. Headaches, dark-colored urine, and dizziness are all red flags. I always keep electrolyte powders with me to replace the salts I lose from sweating.
Minor Injuries: For scrapes and cuts, the drill is simple: clean the wound with an antiseptic wipe, dab on some antibiotic ointment, and slap a bandage on it. For a twisted ankle, remember the acronym RICE: Rest, Ice (a cold stream or snow works), Compression, and Elevation.
Carrying your pack correctly and using trekking poles makes a huge difference for your joints, too. For a deeper dive into preventing aches and pains, check out these 5 tips to avoid knee pain while hiking. Trust me, your knees will thank you.
Knowing how to exist in the wilderness without getting into trouble is a core skill. It starts with your most basic need: water. Never, ever assume that a crystal-clear mountain stream is safe to drink from. Waterborne pathogens are invisible and can make you incredibly sick. You have to treat your water. Every time.
Common Water Purification Methods:
| Method | How It Works | Pros & Cons |
|---|---|---|
| Filtration | Physically strains out bacteria and protozoa. | Pros: Fast, no chemical taste. Cons: Can clog, doesn't get viruses. |
| UV Purifiers | Uses ultraviolet light to destroy microbe DNA. | Pros: Super fast, lightweight. Cons: Needs batteries, won't work in silty water. |
| Chemicals | Iodine or chlorine dioxide kills everything. | Pros: Kills viruses, very light. Cons: Takes 30+ minutes, can leave an aftertaste. |
Seeing wildlife is one of the best parts of being out there, but you have to be smart about it. The golden rule is to never feed wild animals. It’s bad for them and dangerous for you. Always store your food—and anything scented like toothpaste or deodorant—in a bear canister or a properly hung bear bag, well away from your campsite. In bear country, make a little noise as you hike so you don’t sneak up on one.
Your ultimate safety net is simple: always tell someone where you're going. Leave a detailed itinerary with a trusted friend or family member. Include your route, your campsites, and a "panic date"—the day they should call for help if they haven't heard from you.
Safety awareness doesn't stop when you hit the trailhead parking lot. Bustling cities and crowded hostels have their own set of risks. Be smart with your valuables. Don't keep your wallet in your back pocket. A money belt or a secure pouch under your shirt is a much better place for your passport, extra cash, and credit cards. If you're staying in a hostel, use the lockers.
Finally, let's talk about the single most important thing you'll buy for your trip that you hope you never have to use: travel insurance. This is completely non-negotiable. An accident, a sudden illness, or even a stolen bag can be financially crippling without it. Insurance is the safety net that lets you focus on getting better, not on the hospital bill. Read the fine print to make sure it covers the specific activities you'll be doing, especially things like high-altitude trekking.
Even the most meticulously planned adventure will have some question marks. That’s perfectly normal! As your departure date gets closer, a few new "what ifs" always seem to surface.
Let's clear up some of the most common questions we hear from backpackers, from first-timers to seasoned trail veterans. Getting these sorted will help you lock in those final details and hit the trail with confidence.
The real answer? It depends entirely on where you're going.
For a big international adventure—the kind that involves flights and maybe even a visa—you’ll want to start planning 6-12 months ahead. This gives you plenty of breathing room to hunt for good flight deals, save up, test your gear, and handle any paperwork without that last-minute panic.
But for a shorter, domestic trip, like a week-long hike in a national park, you can easily pull it all together in about 2-3 months. That’s usually the sweet spot for sorting out your travel, gathering supplies, and getting in trail shape.
Hands down, the number one mistake is overpacking. A pack that's too heavy can turn a dream trip into a painful slog. Every single step feels harder, your energy evaporates, and the risk of injury goes way up.
Before anything goes into your pack, ask yourself one simple question: "Is this absolutely essential for my safety or well-being?"
A lighter bag is a happier hike. This isn't about being a spartan minimalist; it's about being smart so you can enjoy the view instead of focusing on your aching back.
Getting your body ready is just as critical as packing the right gear. Aim to start a consistent training routine at least 2-3 months before you leave. You'll want to build a solid foundation of both cardio and strength.
But the single most important part of your training? You have to do several practice hikes with your fully loaded backpack. This is non-negotiable. It gets your body used to the weight, helps you break in your hiking boots, and gives you a real taste of what you'll feel like out on the trail.
At TREKOLOGY, we believe that the right gear makes every step of the journey better. From our ultralight trekking poles to our comfortable sleeping pads, our products are engineered to reduce weight and increase comfort, so you can focus on the adventure. Find your perfect gear at https://trekology.com.
Leave a comment