Certified Business
With over 10,000 orders
With over 10,000 orders
Photo by Vincentas Liskauskas on Unsplash
When you’re deep in the backcountry, first aid isn't just about patching someone up until the ambulance arrives. Help might be hours, or even days, away. This isn't your standard urban first aid scenario; this is about long-term patient management, making do with limited gear, and battling the environment. Getting your head around this shift is the first, most critical step for any adventurer.

Photo by Fiona Jackson on Unsplash
Think about it like this: your car breaks down in the city. You call a tow truck, and you're sorted in an hour. But if that same car sputters to a stop on a remote mountain road, you’re the mechanic. The only tools you have are the ones you brought, and the nearest garage is a hundred miles away. That's the perfect way to understand the gap between urban and wilderness first aid.
The biggest change isn't just what you do, but how long you have to do it for. City first aid is built around the "golden hour"—the idea that advanced medical help is right around the corner. In the wild, that golden hour can easily become a golden day or two.
The skills from a basic first aid course are a great starting point, but the wilderness throws in some serious curveballs that force a new game plan. Your job suddenly gets a lot bigger than just applying a bandage.
Three huge factors completely redefine first aid when you're off the grid:
The real core of wilderness first aid is judgment. It's about looking at a messy situation, weighing the risks, and making smart decisions when you're the one in charge.
Your role expands from first responder to long-term caregiver, problem solver, and crisis manager all in one. The fundamentals you might already know are still essential, but using them effectively out there requires a whole new level of understanding. To brush up on those fundamentals, check out our guide on first aid basics for the outdoors. Mastering this mindset is what will truly empower you to handle whatever the trail throws your way.
When something goes wrong in the backcountry, your first instinct is to jump in and fix it. That's a noble impulse, but it's often the wrong one. The single most effective thing you can do is take a deep breath and start working through a system.
The Patient Assessment System (PAS) is the bedrock of wilderness first aid. It’s what turns a potentially chaotic and scary situation into a series of calm, logical steps.
Think of it like a pilot’s pre-flight checklist. They don’t just fire up the engines and hope for the best. They follow a precise, methodical process to make sure nothing critical gets missed. The PAS does the same for you, preventing panic and ensuring you don't overlook a life-threatening problem while you’re distracted by a more obvious, but less severe, injury.
The whole process starts before you even get to the injured person. Your first job is to make sure the scene is safe for you, your group, and the patient. If you rush in blindly, you risk turning one victim into two.
Before you do anything else, just stop. Look around. The goal of a scene size-up is simple: figure out if it's safe to even be there and get a quick read on what happened.
You're scanning for immediate and potential dangers. Are you on an unstable slope where rocks could come down? Is a storm rolling in with a risk of lightning? Is the injured person in the middle of a swift-moving creek? Answering these questions first is absolutely non-negotiable.
This three-step process is crucial for making a safe and effective response decision.

As you can see, a safe response is only possible after you've thoroughly checked the scene and identified all potential hazards.
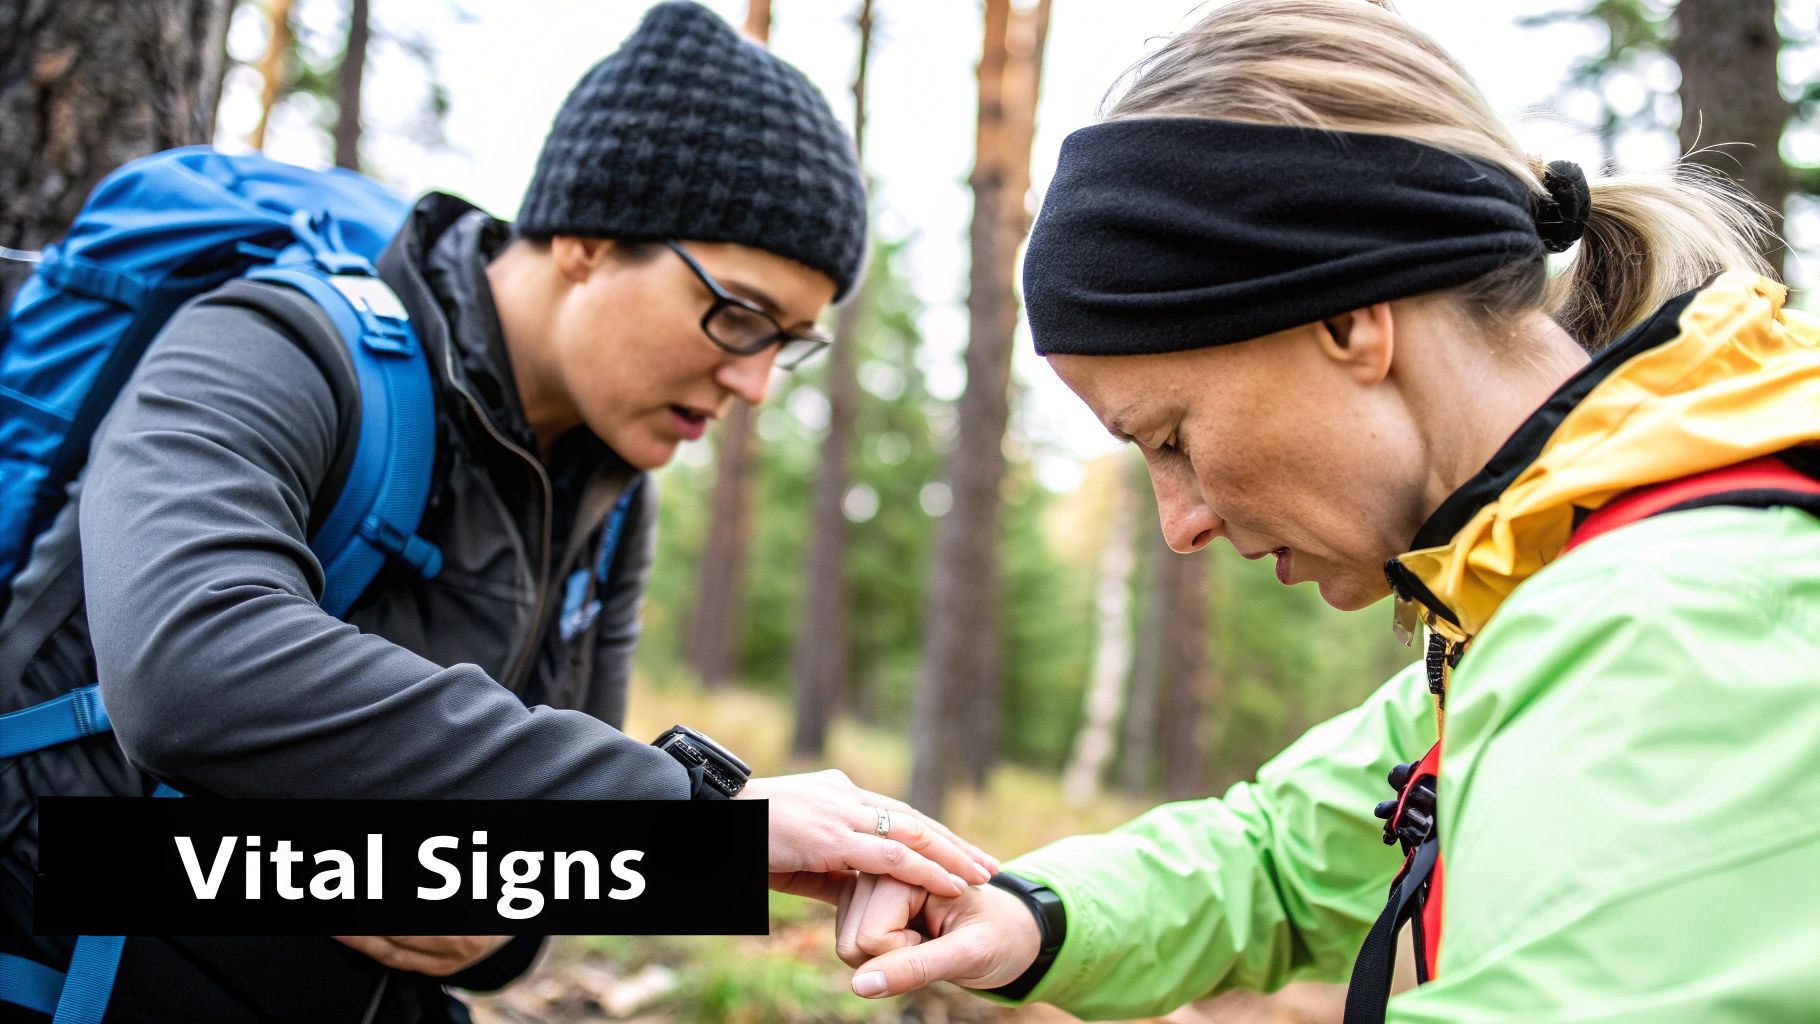
Once you're sure the scene is safe, you can approach the patient and start the Primary Assessment. The entire purpose here is to find and fix anything that could kill them in the next few minutes. Nothing else matters right now. We use the acronym ABCDE to guide us:
This isn't just a to-do list; it's a "do-it-now" list. If you find a problem at any step, you stop and fix it before moving on.
After you've handled all the immediate, life-threatening stuff, you can take a breath and move on to the Secondary Assessment. Now it's time to be a detective. This is a careful, head-to-toe examination to find every other injury, no matter how minor it seems.
You'll physically check the patient from their head, down their neck, across their shoulders, chest, and abdomen, all the way down their legs and arms. You're looking and feeling for bleeding, swelling, deformities, or anything that makes them wince in pain.
This systematic approach is the single most important skill in wilderness medicine. It provides a reliable framework that works for any patient in any situation, ensuring you address the most critical problems first.
While you're doing the physical exam, you'll also be gathering a patient history using the acronym SAMPLE:
This information is pure gold. It helps you build a complete picture of the situation so you can make a solid plan for treatment and a potential evacuation.
Formal training is what builds the confidence to run through these systems when the pressure is on. It's interesting—while few hikers have wilderness-specific training, one study found that those with general medical training were nearly three times more prepared for backcountry incidents. You can explore more about hiker preparedness in this study. Mastering the PAS is a huge first step toward that level of confidence.
Once you've run through a solid patient assessment, your job shifts from detective to doer. This is where the rubber meets the trail—knowing how to handle the most common problems you'll face in the backcountry is the next critical piece of the wilderness first aid puzzle. Out there, you're it. You're the first responder.
Having this knowledge is what turns you from a worried bystander into someone who can confidently manage anything from a nasty gash to the first signs of hypothermia. The secret is tackling each problem with a calm, step-by-step approach, using the gear in your pack to make a huge difference.
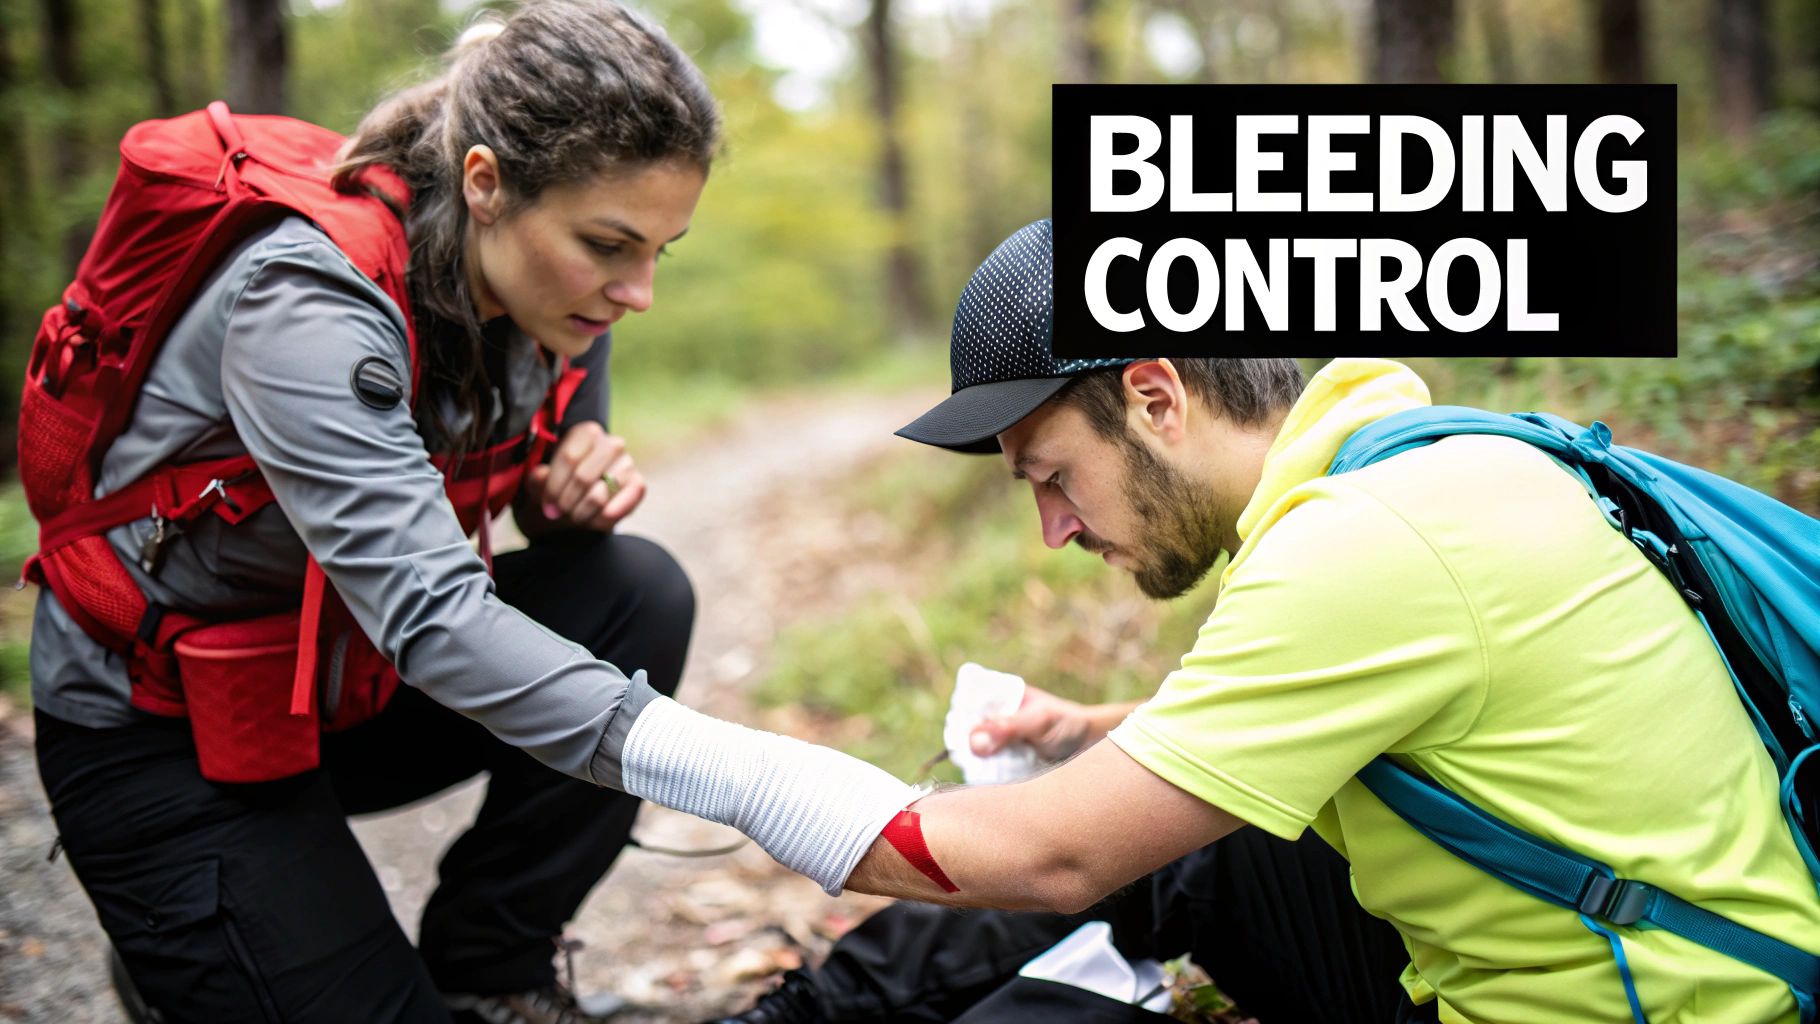
Traumatic injuries are the sudden, dramatic ones—the cuts, sprains, and fractures that come from a slip, a fall, or a clumsy moment. When these happen, your immediate goals are simple: stop any bleeding, keep infection out, and stabilize the injury so it doesn't get any worse.
A tiny cut at home is no big deal. But in the backcountry? That same cut is an open door for a nasty infection, miles from the nearest doctor. This makes wound care an absolute cornerstone of wilderness medicine.
In the wild, preventing infection is just as vital as stopping the bleed. An infected wound can go from a minor issue to a full-blown emergency evacuation scenario in no time.
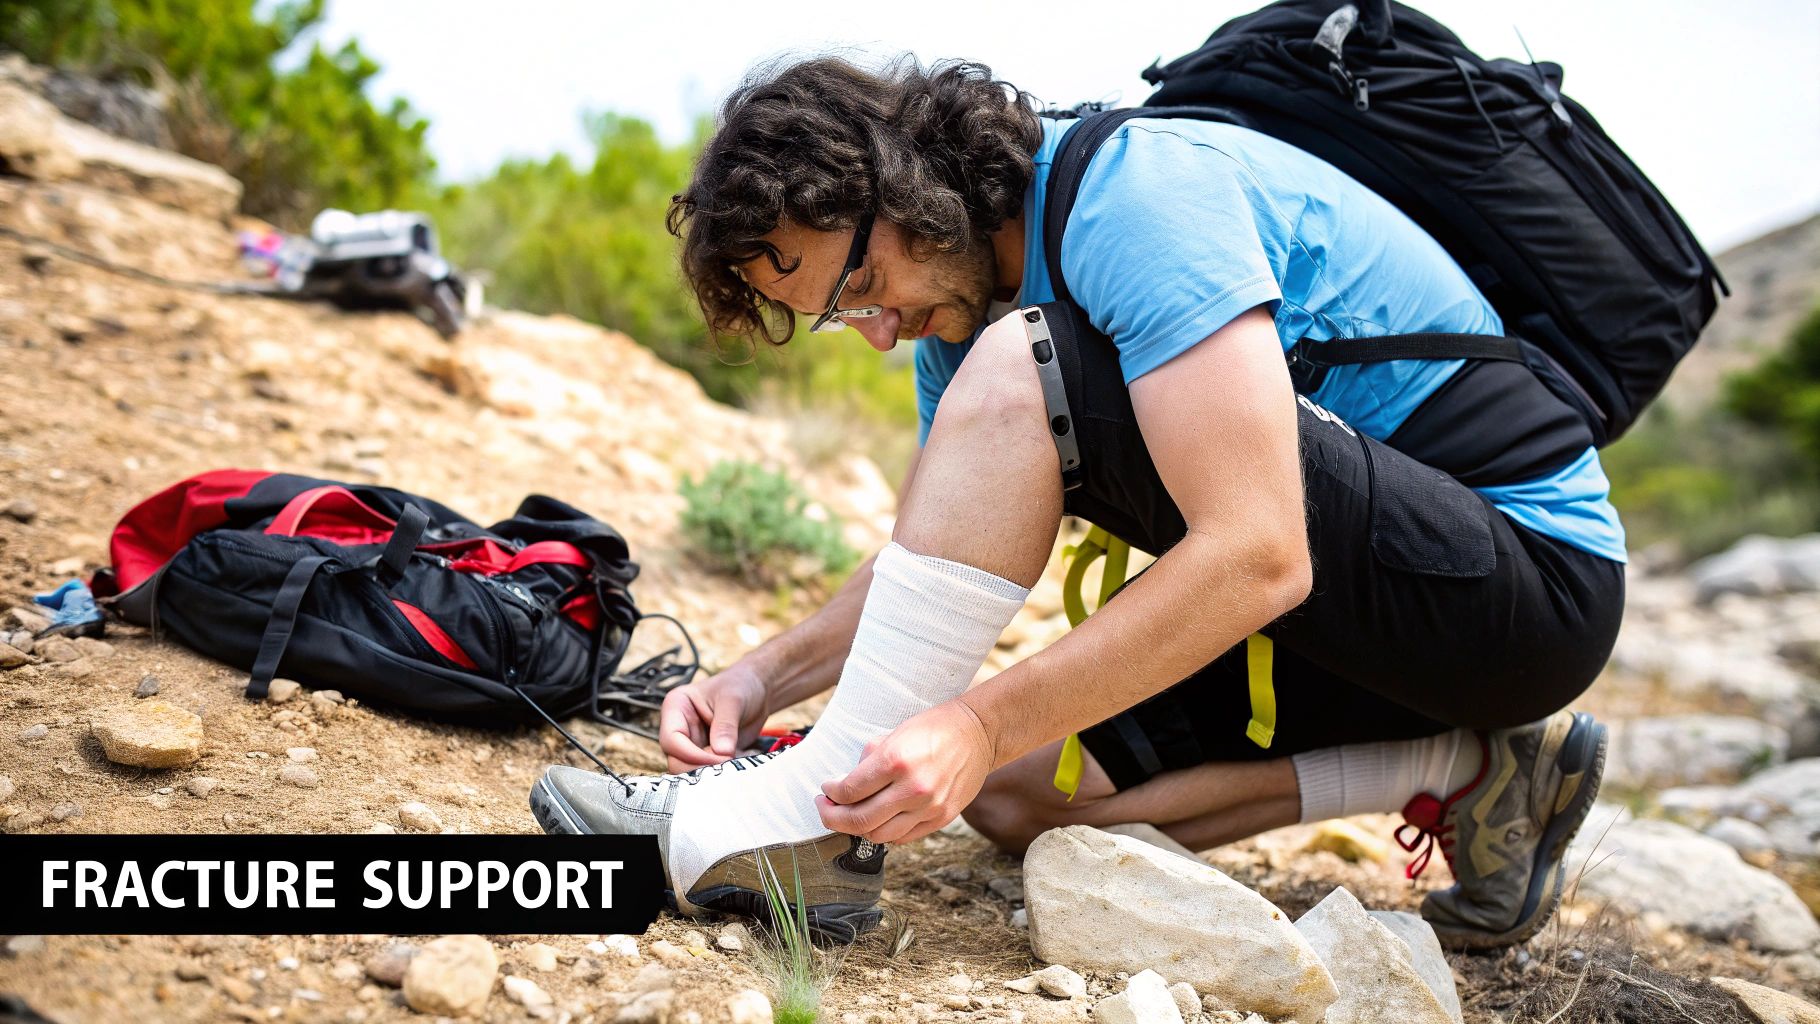
For sprains and fractures, the name of the game is immobilization. You need to keep the injured joint or bone from moving to reduce pain and prevent more damage. This is where you get to be creative.
Unlike a sudden fall, environmental emergencies tend to sneak up on you. These are your body's reactions to extreme cold, heat, or altitude. Catching the early signs is everything.
Hypothermia is a serious drop in your core body temperature, and it can happen even in temperatures well above freezing if you get soaked in cold rain. The first signs are easy to miss if you're not looking for them.
At the other end of the thermometer is heat exhaustion, where the body overheats from high temperatures and not enough water. This is a major red flag that the much more dangerous heatstroke could be right around the corner.
Finally, altitude sickness can hit anyone who goes up too high, too fast. Headaches, nausea, and fatigue might start small, but they can quickly escalate into a life-threatening situation.
The only real cure for serious altitude sickness is simple: descend. Going down is the most effective treatment there is, and you should do it the moment moderate symptoms appear.
When things go wrong in the backcountry, knowing how to handle these common problems is what separates a bad day from a true disaster. The table below summarizes the key actions for some of the most frequent issues you might encounter.
| Injury / Condition | Primary Goal | Key Action Steps |
|---|---|---|
| Severe Bleeding | Control blood loss immediately | Apply firm, direct pressure with a clean dressing. Elevate the limb if possible. Use a tourniquet only as a last resort for life-threatening limb bleeding. |
| Sprains & Fractures | Stabilize the injury to prevent further damage and reduce pain | Immobilize the joints above and below the injury using a splint. Check for circulation (pulse, warmth, color) below the injury after splinting. |
| Hypothermia | Stop further heat loss and begin gentle rewarming | Move to shelter, remove wet clothing, insulate with dry layers and a sleeping bag. Provide warm, sugary fluids if conscious. |
| Heat Exhaustion | Cool the body down and rehydrate | Move to shade, loosen clothing, apply cool water to the skin, and provide sips of an electrolyte drink or water. |
| Allergic Reaction | Manage symptoms and monitor the airway | Administer antihistamines for mild reactions. For severe reactions (anaphylaxis), use an epinephrine auto-injector if available and prepare for evacuation. |
| Altitude Sickness | Stop ascent and facilitate acclimatization or descent | For mild symptoms, rest and hydrate at the current altitude. For moderate to severe symptoms, immediate descent is the only effective treatment. |
Treating injuries in the wild isn't about being a hero; it's about being prepared. By understanding these fundamentals, you're empowered to act decisively and effectively when it matters most.
Sure, you can grab a pre-made first aid kit from the store shelf, and that’s a start. But it’s not the finish line. A truly useful wilderness first aid kit isn't a one-size-fits-all solution; it’s a personalized system you’ve built for your specific adventures. The real goal is to get past the generic box of supplies and build a smart, modular kit you actually know how to use when things go sideways.
It's a huge mental shift to think of your kit as a system, not just a pile of stuff. Every single item should have a clear purpose, and—more importantly—you need to know exactly how to use it. A tool you don't understand is just dead weight in your pack.
When you adopt this mindset, your kit stops being a checklist item and becomes an active, life-saving tool—a true extension of your own knowledge.
Every solid wilderness first aid kit is built on the same foundation. You start with these core elements and then customize them based on your trip's length, the size of your group, and the environment you'll be in. Think of this as the chassis you build everything else on.
A key to making your kit functional is organization. I like to use Ziploc bags to create modules—one for wound care, one for meds, one for tools. This keeps you from frantically digging for a bandage when you should be focused on the injury.
Here are the non-negotiable categories to build your kit around:
Once you have the basics dialed in, it’s time to fine-tune your kit for the specific trip. A week-long trek in the mountains calls for a much bigger setup than a day hike on local trails.
Ask yourself a few questions to get it right.
What’s the environment like? If you’re heading into a hot, dry desert, dehydration is a major risk, so you might add extra electrolyte packets. In a cold, wet forest, hypothermia is the bigger threat, so an emergency blanket becomes essential.
How long will you be out there? For multi-day trips, you simply need more of everything, especially wound care supplies and medication. You might also add more advanced tools, like a wound irrigation syringe.
The most important rule of kit building is simple: Never carry what you don't know how to use. A suture kit is useless—and dangerous—if you haven't been trained. Your knowledge is, without a doubt, the most critical piece of your first aid system.
By being thoughtful about what you pack and how you organize it, you create a system that lets you respond to emergencies with confidence. This kind of preparation is a fundamental part of being a responsible traveler in the backcountry.
Knowing when to hunker down and when to hit the SOS button is one of the toughest calls you'll ever make in the backcountry. There’s no easy formula, but you can trade panic for a clear-headed, structured approach. It all comes down to calmly weighing the facts to find the safest way forward for everyone.
This decision-making process is a massive part of advanced training, like the intensive Wilderness First Responder (WFR) courses. These programs are all about building the judgment needed to manage care when you're hours or days from a hospital. The skills go way beyond just patching someone up; they focus on assessment, long-term care, and making that hard evacuation call. This is a cornerstone of mastering wilderness first aid basics.
When things go sideways, you really only have three options. Thinking through these categories helps cut through the noise and figure out what to do next.
Your decision isn't just about the injury. It’s about the injury combined with your exact location, what the weather is doing, and how the rest of your group is holding up.
To pick the right plan, you have to be brutally honest about a few key factors.
If you decide to call for help, use your satellite messenger or personal locator beacon (PLB). Be ready to give clear, simple information: your precise location, what happened, the patient's condition, how many people are in your group, and what gear you have. That final, clear communication is the last critical step in managing the emergency well.
Reading up on wilderness first aid is a fantastic starting point. But let’s be honest—true confidence only comes from getting your hands dirty and building some muscle memory.
It's a bit like learning to swim. You can read every book on the subject, but you're not truly ready for the deep end until you've jumped in the pool and practiced your strokes. The same goes for first aid. When things go wrong for real, you need the kind of competence that only comes from practice.
That’s why committing to a certification course is the single best thing you can do to become a capable and reliable partner on any outdoor trip.
Not all courses are created equal. They’re built for different types of outdoor pursuits and levels of responsibility, so you can find the perfect fit for your adventures.
Knowing the difference helps you invest your time and money wisely. And for those who venture into specific environments, there are even more specialized options, like the PADI Rescue Diver Course, which focuses on advanced emergency management in aquatic settings.
The goal of certification isn't just to get a card—it's to develop the judgment and hands-on ability to act decisively when someone's well-being is in your hands.
This idea of formal training isn't new. Since wilderness first aid courses started becoming more structured in the 1980s, organizations have been constantly refining them to empower people just like us. Today, certifications are typically valid for two years, which highlights just how important it is to keep those skills fresh.
Good training, paired with smart preparation in other areas—like our backpacking food and meal planning guide—is what turns a good adventurer into a great one.
When you're getting into wilderness first aid, a few questions always pop up. Let's clear the air on some of the most common ones so you can feel more confident heading out on the trail.
If you learn only one thing, make it the Patient Assessment System (PAS). While knowing how to wrap a sprain is useful, the PAS is the framework that keeps you from panicking.
It’s a step-by-step process that forces you to slow down, assess the scene, and methodically find and fix the most life-threatening problems first. This systematic approach ensures you don't get sidetracked by a gory (but minor) cut and miss something far more serious.
Most Wilderness First Aid (WFA) certifications are good for two years. It might seem like a hassle, but there's a good reason for it. Skills get rusty if you don't use them.
Think of recertification as tuning up your most important piece of gear—your own knowledge. It keeps your skills sharp and ensures you're up-to-date on the best techniques.
Regular refreshers build the muscle memory you'll rely on when the pressure is on.
Your bathroom first-aid kit just isn't cut out for the backcountry. It’s designed for scrapes and headaches, not the serious injuries or prolonged patient care you might face when help is hours away.
A proper wilderness kit is packed differently, with supplies for splinting, managing serious bleeding, and treating nasty blisters—the kind of stuff you'll actually need out there.
Generally, yes. Most places have "Good Samaritan" laws that offer legal protection to people who provide reasonable aid in an emergency. The key words here are "reasonable" and acting in "good faith."
This means you need to stick to what you've been trained to do. Don't go beyond the scope of your WFA certification. Your job is to provide competent care and stabilize the situation, not to perform risky procedures you aren't qualified for.
At TREKOLOGY, we're passionate about making the outdoors accessible and safe. We believe that thoughtful, well-designed gear is the foundation of every great adventure. See how we can help you prepare for yours at https://trekology.com.
Leave a comment