Certified Business
With over 10,000 orders
With over 10,000 orders
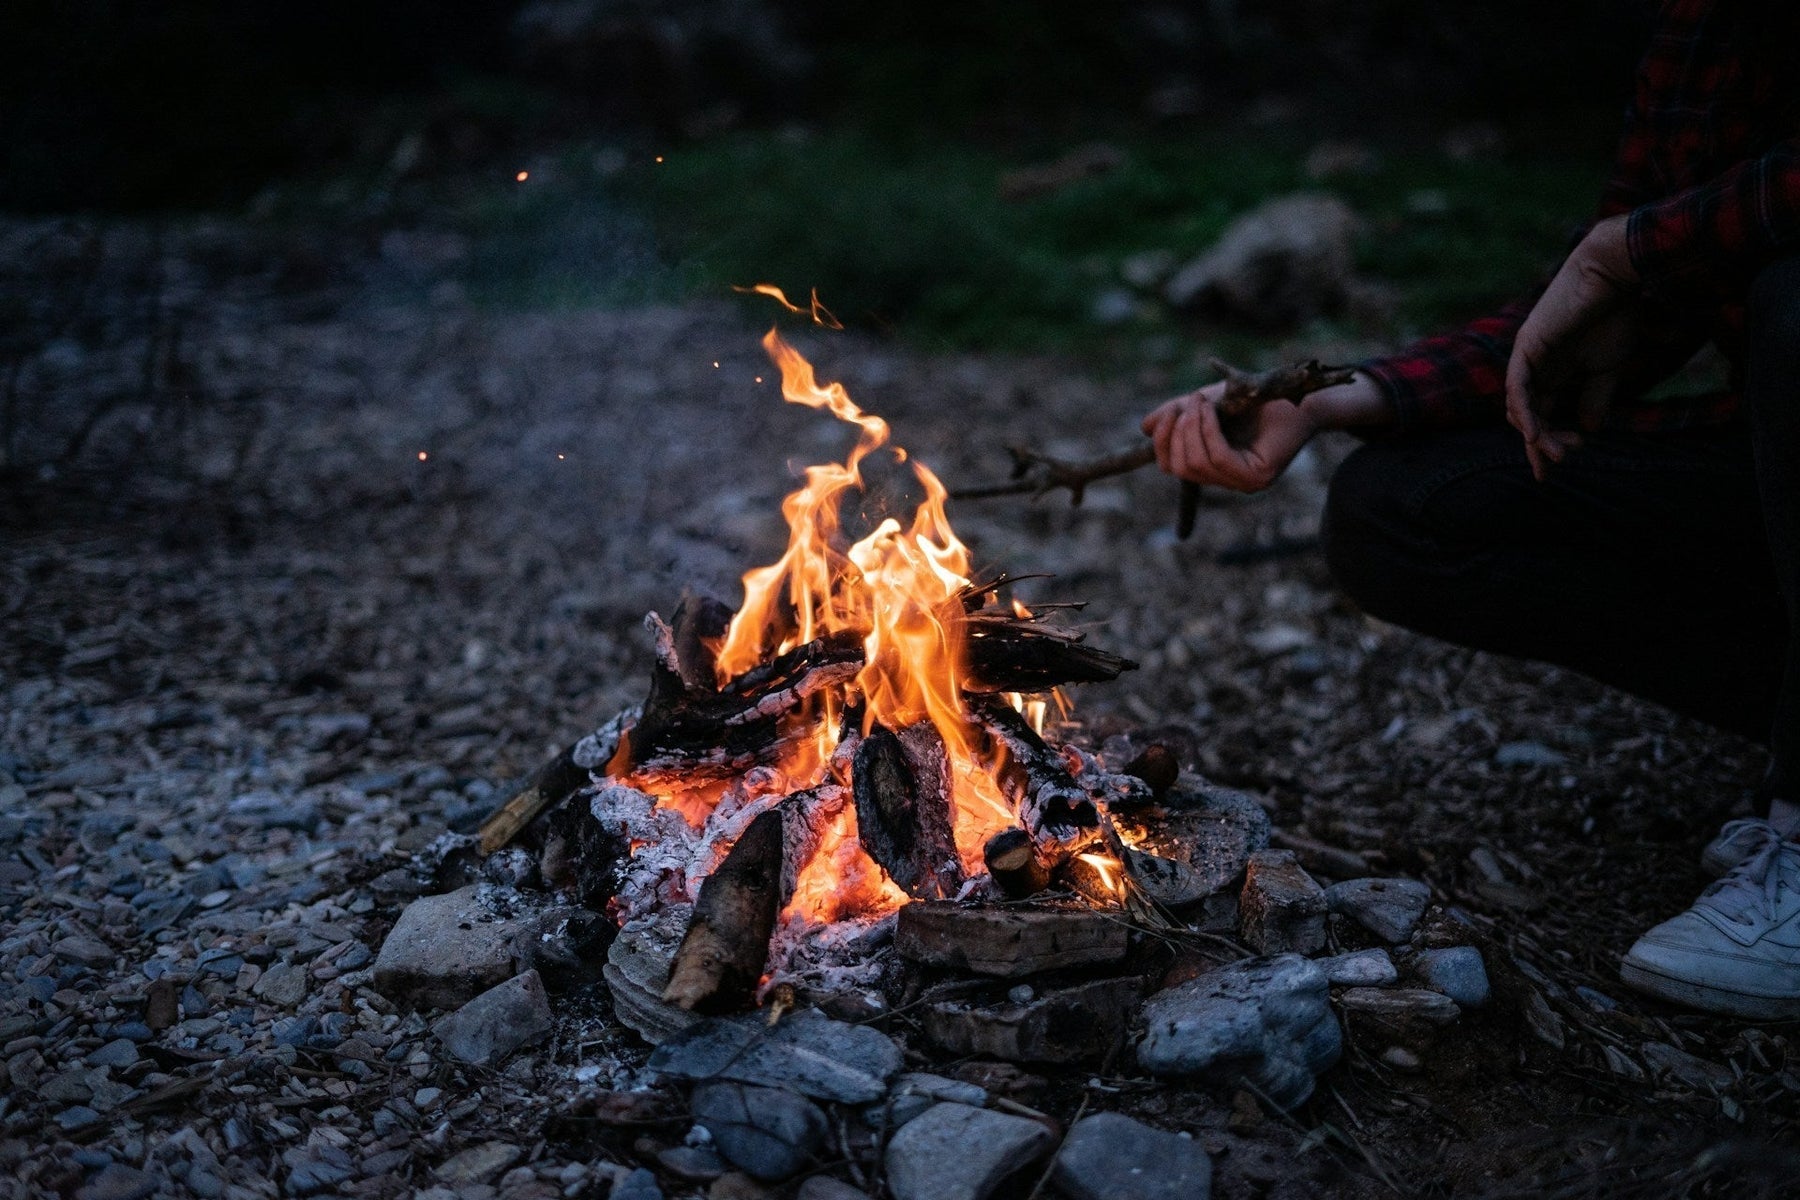
Photo by Melina Kiefer on Unsplash
Knowing how to start a fire without matches is one of those fundamental survival skills, and it really boils down to three core principles: friction, sparks, or concentrated sunlight.
No matter which path you take, the goal is always the same: create an ember or spark hot enough to breathe life into a well-prepared tinder bundle. Get that right, and you can turn a truly grim situation into a manageable one.
Picture this: the sun's dipping below the horizon, a sudden downpour has soaked your gear, and your lighter is nowhere to be found. This isn't just a hypothetical scenario; it's a real test of your preparedness. Learning to conjure fire from the landscape around you is one of the most empowering skills you can possibly master.
This ability has been at the very center of human existence for millennia. Archaeologists believe early humans started controlling fire as far back as 1.7 to 2.0 million years ago—a development that literally changed everything for our species. This ancient skill gave us warmth, protection from predators, and the ability to cook food, paving the way for our expansion across the globe.
Before we get into the nitty-gritty of rubbing sticks together, you have to get familiar with the fire triangle. These are the three non-negotiable elements every single fire needs to exist. Get them in your head, and fire-making becomes a science, not a prayer.
Grasping this concept is what separates a frustrating afternoon of making smoke from successfully building a roaring fire. You're not just trying to make a spark; you're creating the perfect environment for that spark to catch, grow, and thrive.
Without a solid grasp of the fire triangle, even the most promising ember will fizzle out and die. Your job is to balance these three elements from the very first moment you generate that spark.
This guide is all about practical, hands-on techniques that will give you the confidence to generate warmth, purify water, and cook a meal when it truly counts. Having the right knowledge is just as important as the tools in your pack—which is why we also put together a guide on the https://trekology.com/blogs/gear/10-survival-gear-items-every-hiker-should-carry.
We’ll dig into the mindset you need for success, giving you a solid foundation before you even think about starting.
When you picture starting a fire without matches, the first image that probably comes to mind is someone rubbing two sticks together. This is the art of friction fire—an ancient skill that’s far more about patience and proper technique than it is about brute strength.
We’re going to walk through two of the most proven friction methods: the bow drill and the hand drill. But before you even think about spinning a single stick, your success hinges on one crucial first step: finding the right wood.
Not just any stick will do when you’re trying to coax an ember into existence. You’re looking for soft, non-resinous woods that will crumble into a fine, flammable dust under pressure. Trying this with a piece of oak or hickory is a recipe for frustration and sore hands.
For both your spindle (the stick you spin) and the fireboard (the base), you'll want to track down woods like:
Before matches were a thing, knowing your wood was a critical survival skill. The invention of the bow drill was a huge leap forward from the much more exhausting hand drill, using simple mechanics to make the process faster and more efficient. These methods were used all over the world by indigenous peoples and were the main way of making fire well into the 19th century. You can dive into the fascinating history of fire making to see just how these techniques evolved.
Pro Tip: Aim for a fireboard that’s about half an inch to three-quarters of an inch thick. Too thin, and you’ll burn right through it before an ember forms. Too thick, and the heat will just dissipate, leaving you with nothing but sweat and wood dust.
I usually recommend beginners start with the bow drill. It's mechanically efficient, using a bow to do the hard work of spinning the spindle. This saves your hands and lets you generate much more speed and pressure than you could on your own.
First, you need to assemble your kit: a bow, a spindle, your fireboard, and a handhold (or socket) to press down on the spindle. Once you have your materials, carve a small depression into your fireboard. Then, use the bow to spin the spindle in that depression until you’ve “burned in” a perfectly round socket.
Now for the most important part: you need to carve a V-shaped notch from the edge of the board right into the center of your burned-in circle. This little channel is everything. It’s where all the hot, fine wood dust will gather to form your ember.
Get into position. Place one foot firmly on the fireboard to keep it steady. Slide your prepared tinder bundle right under the notch. Now, start a smooth, steady sawing motion with the bow. Apply consistent downward pressure with your handhold. You’ll see smoke start to curl up—don't stop! This is where you need to push a little harder and faster until that smoke becomes thick, heavy, and smells acrid.
When you carefully pull the spindle away, you should see a tiny, glowing red ember smoldering in the pile of black dust. You did it.
Your form is just as critical as your tools. I’ve seen countless people give up because they burned all their energy using their arms and flailing around. Good posture is the key to efficiency.
For the bow drill, get down on one knee. Place the foot of your other leg directly on the fireboard, pinning it securely to the ground.
Here’s the trick: lock your wrist (the one holding the handhold) and press it firmly against your shin. This simple move lets you use your body weight to apply downward pressure, not just your arm muscles. It conserves a massive amount of energy, allowing you to keep going long enough to generate that life-saving ember.
If you've ever wrestled with a bow drill, you'll appreciate the speed and efficiency of spark-based fire starting. Moving on from the demanding work of friction, these methods give you a much faster and more reliable path to a flame. With the right tools and a bit of practice, you can throw a shower of intensely hot sparks that will light up your tinder in seconds, even when the weather isn't cooperating.
The principle here is pretty straightforward: you're rapidly shaving off tiny particles of metal, which instantly oxidize—or combust—in the air. We'll look at two of the most effective ways to do this: the classic flint and steel and the indispensable modern ferrocerium rod.
This is the old-school way, a method our ancestors relied on for centuries. It’s a bit more nuanced than modern tools, requiring a piece of high-carbon steel (the spine of a good carbon steel knife works perfectly), a hard rock with a sharp edge like flint or quartzite, and some good char cloth or tinder that can catch a low-temperature spark.
The magic happens when you strike the sharp edge of the rock against the steel with a glancing blow. This shaves off microscopic pieces of steel, which get hot enough to burn as they fly through the air.
The image below drives home the most critical first step of any fire-making attempt: get your materials gathered before you even think about creating a spark.
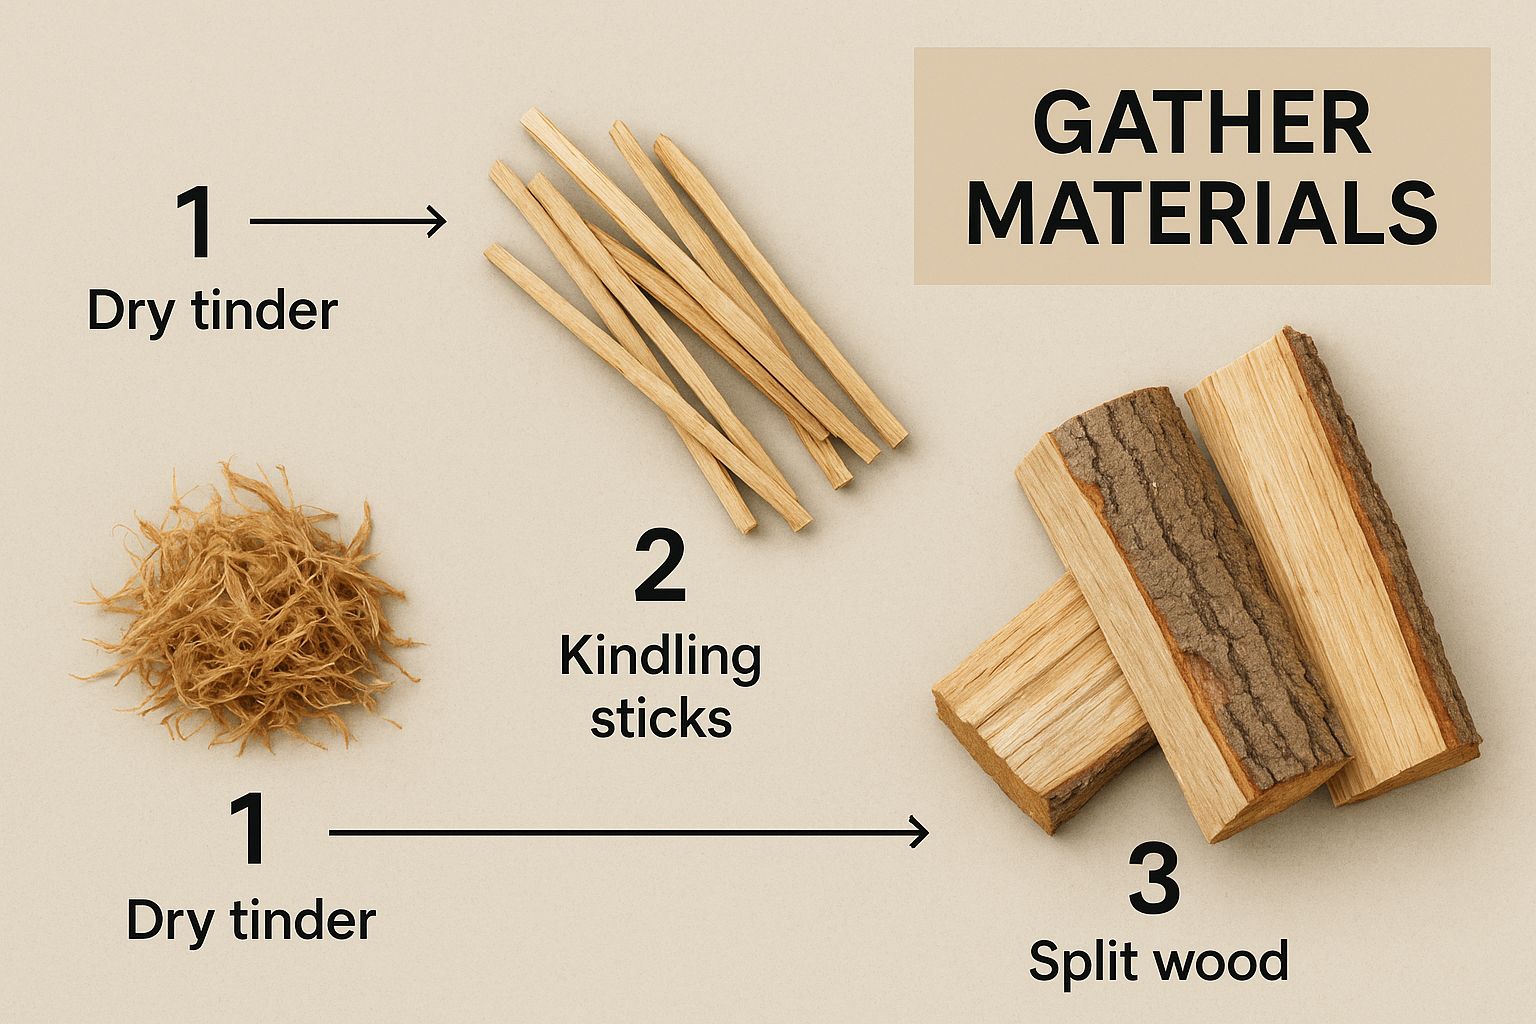
This simple visual reinforces a fundamental truth: having dry, well-prepared tinder and kindling ready to go is just as important as the technique you use to create the initial heat.
The ferrocerium rod—often just called a "ferro rod"—is a modern survivalist's absolute best friend. This man-made metallic material is a special blend of iron, cerium, and other rare-earth metals that produces a spectacular shower of incredibly hot sparks when you scrape it.
And when I say hot, I mean it. We’re talking sparks that can reach temperatures of 3,000°C (5,430°F).
Unlike the more delicate flint and steel method, a ferro rod works even when it's soaking wet, which makes it a non-negotiable piece of gear for any serious outdoor kit. Success, however, really comes down to technique.
Don’t just flick the rod wildly and hope for the best. The key is to apply firm, steady pressure with a sharp 90-degree spine, like the back of your knife or the scraper that came with the rod. You want to dig in and shave off actual curls of the material, not just create a light dusting of sparks.
For aiming those sparks effectively, here's a pro tip: bring your scraper to your tinder bundle and pull the ferro rod back, rather than pushing the scraper forward. This small change in motion keeps your scraper from blowing away your carefully prepared tinder nest. Instead, it directs the entire shower of molten sparks exactly where you need it. Once a spark catches, your tinder will ignite almost instantly. This method is all about precision and efficient energy transfer.
While both flint and steel and ferro rods rely on sparks, they behave very differently in the field. This table breaks down the key differences to help you understand which tool is right for the situation.
| Method | Ease of Use | Reliability in Wet Conditions | Spark Temperature | Required Skill Level |
|---|---|---|---|---|
| Traditional Flint & Steel | Moderate. Requires practice to get the angle and force right. | Low. Tinder (like char cloth) must be bone dry. | ~800°C (1,500°F) | Intermediate |
| Modern Ferrocerium Rod | Easy. Simple scraping motion produces abundant sparks. | High. Works flawlessly even when wet. | ~3,000°C (5,430°F) | Beginner |
As you can see, the ferro rod is far more forgiving and powerful, making it the superior choice for survival situations. However, mastering the traditional flint and steel is a rewarding skill that connects you to a long history of self-reliance.
When the sun is blazing, you’ve got access to the most powerful fire starter in the solar system. The real trick is knowing how to focus all that energy into a single, scorching-hot point.
This method is silent, takes almost no physical effort, and honestly, it feels a bit like magic when it works. On a bright, clear day, forget about complex friction kits; focusing sunlight is one of the most reliable ways to coax an ember into existence.
The go-to tool for this technique is a simple magnifying glass. You'll often find a small one built right into a multi-tool or a good compass for this exact reason. But don't worry if you don't have one—you can get creative with other items you might have stashed in your pack.
Once you’ve got your lens, the process itself is pretty straightforward. Angle it toward the sun to focus the light onto your tinder bundle. You’ll need to play with the height and angle until that beam of light becomes a tiny, brilliant dot. That’s your focal point, where all the heat is concentrated.
Now, hold it perfectly still.
The key here is patience. It could take anywhere from 30 seconds to a few minutes, but eventually, your tinder will start to smoke. Resist the urge to move the lens. Just keep that heat focused on the same spot until a self-sustaining ember begins to glow.
So, what happens if you don’t have a lens? This is where true wilderness resourcefulness kicks in. If you can find a soda or beer can and have something to polish it with, you can fashion a parabolic mirror that focuses the sun's rays just as effectively.
The concave bottom of the can already has the perfect shape. Your goal is to polish it until it's shiny enough to act like a mirror. You might be surprised by what you can use as a fine abrasive.
Rub your chosen abrasive on the bottom of the can with a piece of cloth until it gleams. Once it's reflective, angle the polished surface toward the sun. Just like with a lens, you'll need to find the focal point where the reflected light is most intense.
Hold a piece of tinder at that exact spot. With a little time, the concentrated heat will cause it to ignite. This method is a great reminder that with a bit of scientific know-how, even something you'd consider trail trash can become a life-saving tool.

Getting that first glowing ember is a huge win, but that’s really just the beginning of the battle. An ember is fragile and incredibly fickle. It needs the perfect environment to grow from a tiny speck of heat into a self-sustaining flame.
This is where your prep work makes all the difference. Get this part right, and you're golden. Rush it, and you'll watch your hard-won ember fizzle out into a sad wisp of smoke.
Success all comes down to collecting your fuel in three distinct stages. Think of it as building a staircase for your fire to climb.
To get from a spark to a steady blaze, your fire needs a very specific diet. Each type of fuel has a unique job to do.
I always tell people to think of it like raising a child: tinder is the infant, kindling is the energetic teenager, and fuelwood is the mature adult. You can’t skip a stage. Each one needs to be fully established before you can move on to the next.
Finding the right stuff out in the wild is a skill in itself. For tinder, you're basically on the hunt for nature's cotton balls.
Some of the best natural tinders I've ever used are cattail fluff, the stringy inner bark of cedar or birch trees, and finely shredded dry grasses. The trick is to process it with your hands until it's a light, airy bundle that's just begging to catch a spark.
When it comes to kindling, start small. Gather twigs as thin as pencil lead and gradually work your way up to sticks the thickness of your thumb. You'll need way more than you think—at least a full armful. My personal rule is to gather double what seems reasonable.
Once your fire is roaring with a solid bed of coals, you can start adding your fuelwood. Knowing what wood to burn is crucial for a fire that lasts. For some deeper insights, this guide on the best wood chunks for generating long-lasting embers has some great info on wood properties.
Choosing the right wood is also a game-changer when you're ready to learn how to cook over a campfire, since different types of wood burn at different temperatures and add unique flavors to your food.
Even when you know the techniques, nature has a funny way of throwing curveballs. When you're wrestling with how to start a fire without matches, frustration can creep in fast. Let's walk through some of the most common snags people hit.
One of the biggest hurdles is just dealing with damp conditions. If all your materials feel soaked, it’s time to get a little creative. Start by looking up, not down. Scan the trees for "standing dead" wood—these are branches that have died but haven't fallen to the wet ground yet, making them much drier.
Once you have a decent branch, you'll need to get to its dry core. Use a knife to carefully shave away the wet, dark outer layers until you expose the pale, dry wood inside. You can then use this core to create the fine shavings you need for your tinder bundle.
This is a classic problem, and it almost always boils down to one of two things: moisture or texture. For tinder to catch a fleeting spark or a fragile ember, it has to be bone-dry and incredibly fine.
If your natural tinder (like milkweed fluff or shredded bark) feels even slightly damp, it's a no-go. The little heat you create will just be wasted making steam. The fix? Make it finer.
If your tinder smokes but just won't burst into flame, that's a tell-tale sign. It's either not fine enough, or it's not getting enough oxygen. Carefully bring the smoking bundle up to your face and give it a steady, gentle stream of breath until it ignites.
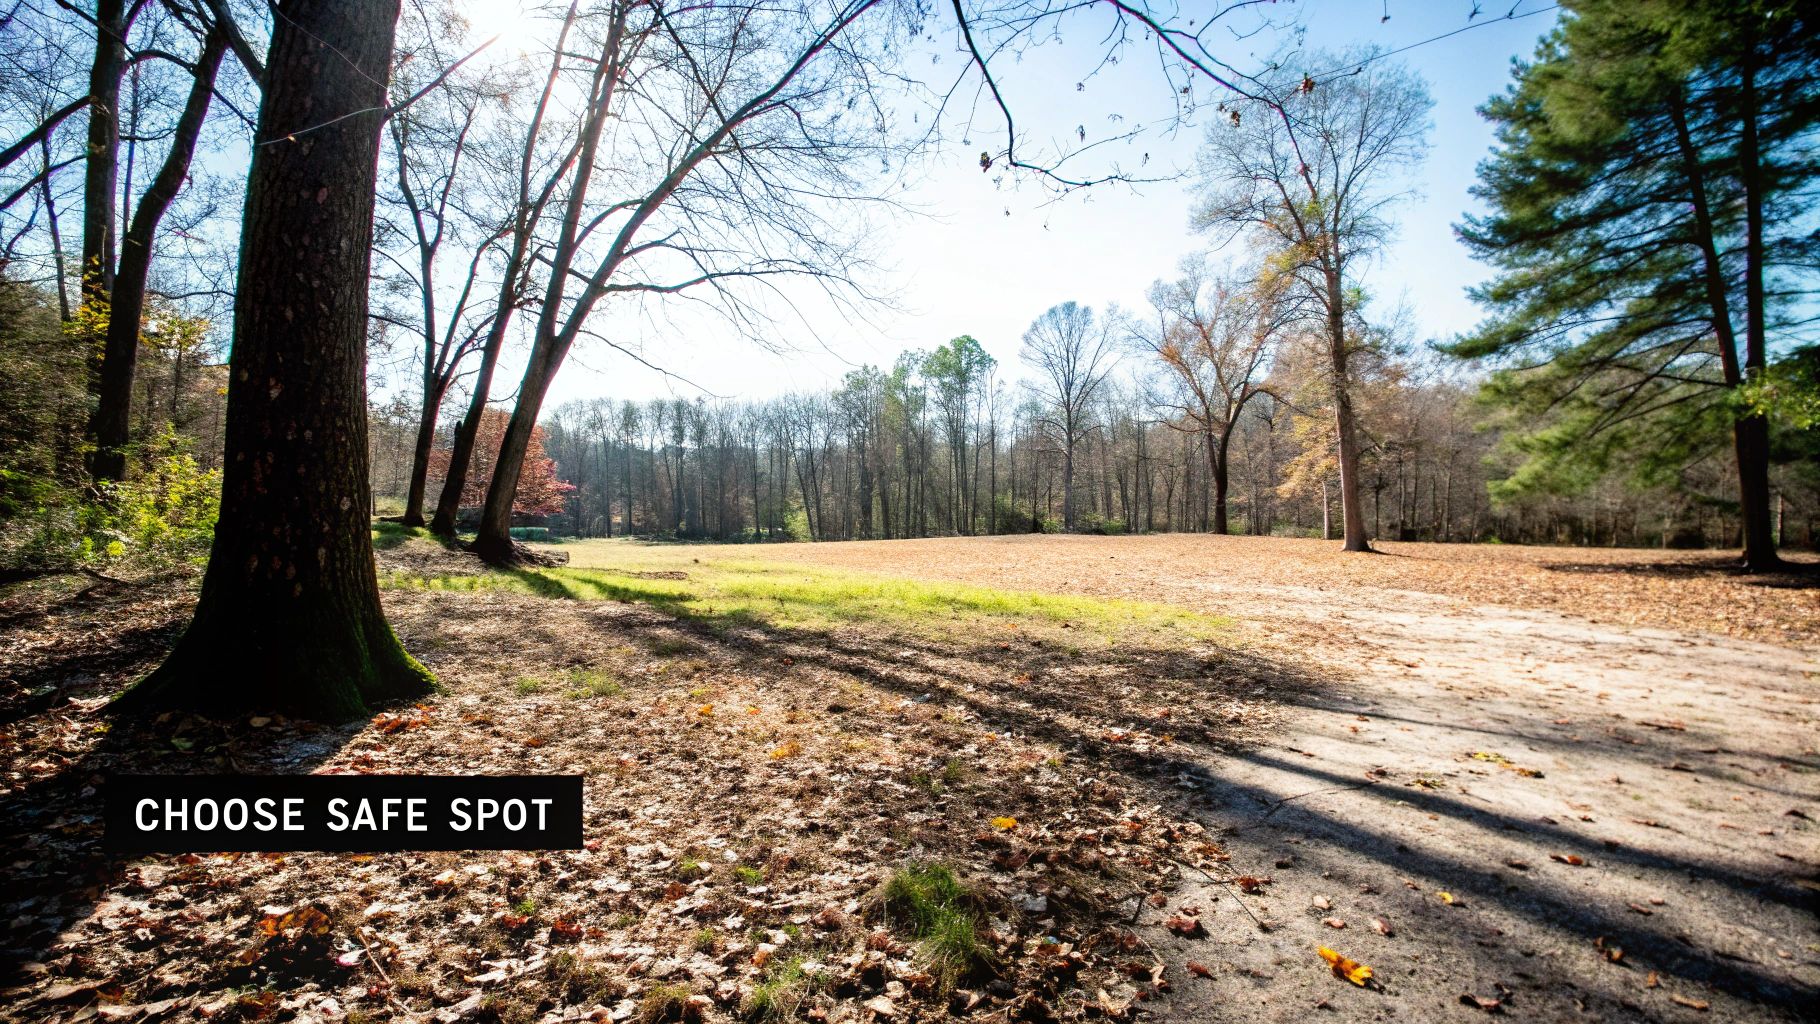
Absolutely not. Fire safety is non-negotiable out in the wild. A fire that gets out of control can have truly devastating consequences. Before you even think about generating that first spark, you have to prepare a safe location.
Always clear a 10-foot diameter circle right down to the bare dirt. Get rid of all the grass, leaves, twigs, and any other flammable debris. Don't forget to look up and check for low-hanging branches that could easily catch fire. For a deeper dive on this critical topic, it's worth reviewing these essential campfire safety tips for beginners to make sure you're always prepared.
At TREKOLOGY, we believe the right gear makes every adventure safer and more enjoyable. Our lightweight, durable equipment is engineered to support you, from the trail to the campsite. Explore our collection of innovative outdoor gear at https://trekology.com.
Leave a comment